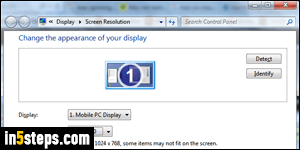
Unlike Mac OS X, which uses a scaled resolution by default, Windows 7 measures your screen resolution in fixed-sized pixels. The pixel is the smallest "dot" that your monitor or external display can show on the screen. Different monitors have different proportions, called "aspect ratio", but Windows itself can accommodate any resolution you want - including custom screen resolutions! With a dual monitor setup, you can have different resolutions for each one.
In 5 steps
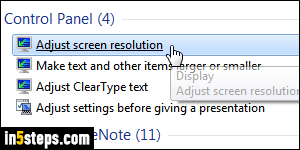
Two ways to open the correct screen in the Control Panel: right-click on an empty area of your desktop and choose "Screen resolution". Otherwise, open the start menu, type "resolution", and click "Adjust screen resolution".
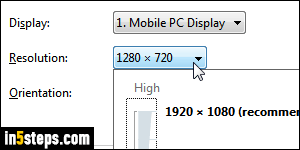
On the "Change the appearance of your display" page, click on the Resolution dropdown to pick a new one. The slider shows your current resolution. The larger the screen resolution, the more things you'll be able to see on the screen. But they all become smaller to fit the fixed size of your monitor. A larger resolution shows less things, but they all appear larger! With a vertical monitor, you can switch from landscape to portrait using the Orientation dropdown.
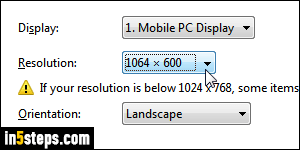
Don't click OK until you've tested your new resolution: instead, click on the Apply button to see how things look. That way, if your display can't handle the screen resolution you picked, it automatically reverts to the previous resolution. (In some cases, the screen may go black: don't worry, it will go back to normal in a few seconds!) With two monitors, click first on the one whose resolution you want to change, and change it. Repeat for the other display!
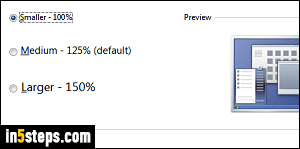
Besides screen resolution, there are other Windows 7 settings that affect how large or small things appear on the screen: you can make your cursor larger, and change text size (everything besides text remains as-is, but the menus and buttons' font size will be larger / smaller). Also, changing your ClearType / font smoothing settings can make text easier to read with larger resolutions!

