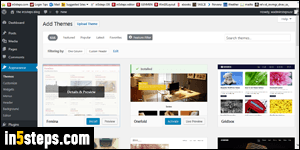
I've already created a tutorial that explains how to change your WordPress theme. But what if you don't like any of the themes currently installed? No problem: using the most popular blogging platform in the world means that there are (literally!) thousands of themes available. Best of all, nearly all of them are free. And because WordPress is so popular, you won't have problems finding a web developer or designer who can customize the one you have.
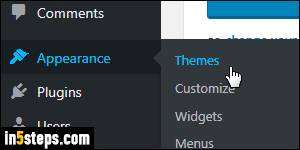
To browse the list of themes you can use, log into your WordPress dashboard. Then, mouse over the Appearance submenu on the left, and choose Themes. At the very bottom of this page, click on the big "Add New Theme" button.
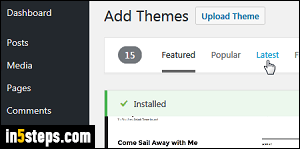
This load the Featured themes by default: you can filter to see the most Popular ones, or the Latest ones added. The Favorites section lets you retrieve the ones you've marked as favorites on WordPress.org (the official website of the creators and maintainers of WordPress). You can click on any theme to preview it: more importantly, make sure to read the description on the left of the preview page. It generally tells you if the theme is responsive (aka mobile friendly!)
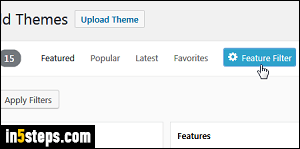
Because there are so many themes, the most productive way to find one that suits you is to use the Feature Filter option. Select it in the toolbar, and check each of the requirements you want your new theme to match (you can check more than one option per section). Then, click on the Apply Filters button to launch your search. Click again on Feature Filter to refine your search.
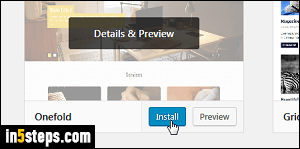
To add ("save") a theme to your WordPress dashboard, mouse over it in the listing, and click on the Install button: a checkmark appears in any theme currently installed. You can now click Live Preview to test it out, or Activate to make it your website or blog's theme. If you are in the preview screen, the Install or Activate button will be in the top left corner of the page.

