

When sending messages from Microsoft Outlook, recipients' email addresses are automatically added to your auto-complete list, a feature you can disable. This makes it quicker to address your emails in the future, but it doesn't mean that this person was added to your contacts. There are three ways of adding contacts in Outlook: create a new contact manually (explained in this tutorial), add an email sender to your address book, or import contacts from a file.
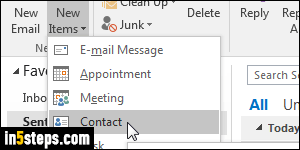
From any screen in Outlook (emails, calendar, tasks, etc.), you'll find a New Items dropdown button under the Home tab. (You can make Outlook's ribbon always visible.) Click on it, and choose "Contact" from the menu. You can also hit the corresponding Ctrl+Shift+C keyboard shortcut. (When you are in the address book, you can just click on the New Contact button, or hit Ctrl+N.)
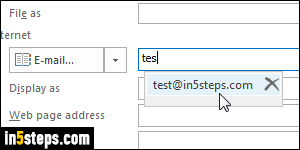
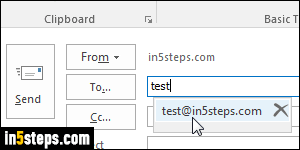
You can create contacts with as little information as a name or email address. Remember how Outlook saves recipient's email addresses? That also comes into play when typing an address for a new (or existing) contact: Outlook will draw from its saved list to find a match, as shown on the screenshot. Click on it to select it, or use your keyboard: press the down arrow and hit Enter!
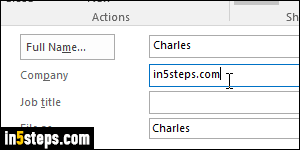
You can type a name in the first text field, but clicking on Full Name lets you specify a first name, last name, title, suffix, and middle name (all optional). Type the person's name creatively: when you start typing email recipients, Outlook tries to complete them using contacts' names and their email address. If you assign the number "1" as middle name for your most emailed contact, typing "1" inside the To / Cc / Bcc field would auto-suggest that contact!
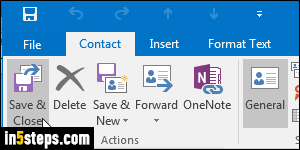
Once you are done, double-check the contact's information for typos; click on the Save & Close button to add that person to your address book. The next time you address a message to the person you just added, you can type part of that person's name, not necessarily the email address - whichever's easier!