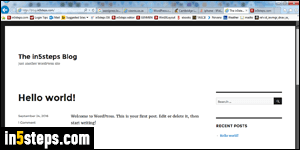
By default, a WordPress blog only shows the site's title and slogan (and you can hide that tagline). If you changed template, you might have a background image in the header, but typically no actual logo. The screenshot shows my test blog, with all defaults. Adding a logo (or a picture of yourself, your family, or your dog - whatever your blog or website is about!) only takes a few clicks.
In 5 steps
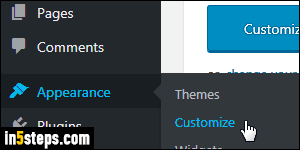
Once logged into your WordPress dashboard, click on the Customize Your Site button on the welcome screen. You can also access that page by moving your mouse over Appearance on the left, and choosing "Customize".
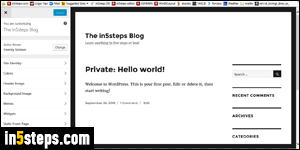
The next screen shows a preview of your blog on the right, and the appearance options on the left. Tip: to preview in full-width, you can show or hide that left pane by clicking on the "Collapse" button (bottom left corner of the page).
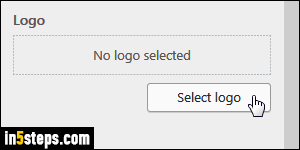
To add a new logo, or change it, click on "Site Identity" on the left. (WordPress uses that word in the sense of "brand identity".) To upload a logo, or pick one from an existing WordPress media file, click on the Select logo button.
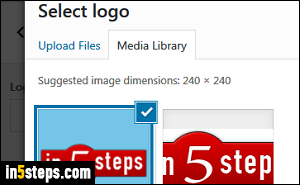
There are three ways of changing or adding a logo: drag-and-drop a graphic file from your computer onto the middle area of the popup; click "Select Files" to upload one or more images from your hard drive; otherwise, you can click on the Media Library tab at the top to select a picture you previously uploaded. WordPress wants as logo a square image with 240 by 240 pixels dimensions, with a size of under 8 megabytes (which is plenty, even for a hi-res picture!)

Bonus Tip - resizing your logo:
As you can tell from the previous screenshot, the first version of the logo wasn't a square, so it got cropped. Though WordPress includes an image editor, it's way easier to resize your logo on your PC or Mac, and then upload the resulting file. (You can even resize images in MS Paint - no fancy editor needed!) Next, you can change your blog's header background color to match your logo.

