

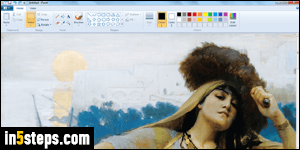
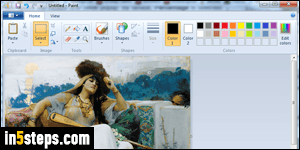
There are three types of resizing operations you can perform in MS Paint: cropping an image will resize the entire picture to the size of the selection, and get rid of everything else; resizing the canvas means that you enlarge or shrink the drawing area (which sometimes leads to cropping). Finally, you can resize the picture / drawing itself: that's what I explain in this tutorial. This applies to versions of MS Paint that come with the ribbon (Windows 7 / 8 / 10).
In 5 steps
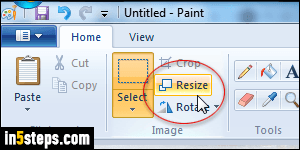
Once in Paint, select the portion of the image you want to resize. If you want to resize the whole picture, you don't need to select anything. Now click on the Resize button in the ribbon, or right-click anywhere in the drawing area and choose "Resize", or hit the corresponding Ctrl+W keyboard shortcut!
Tip: zooming doesn't alter your image. It only makes it look smaller or larger.
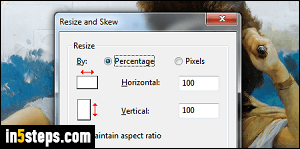
Paint opens the Resize and Skew popup. By default, Percentage is selected, which makes your calculations easier: to make your picture twice larger, enter 200 (%). To make it smaller by half, enter 50 (%). If you want to deal with exact dimensions, select Pixels instead. You now have much more control, which is good for situations where you deal with exact dimension limitations (say, someone told you that your banner needs to be 450 pixels wide).
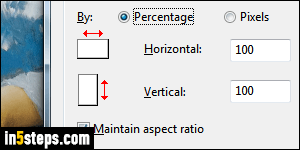
Notice that the Maintain aspect ratio checkbox is checked by default. This tells Paint that you want to keep the photo's proportions when resizing. If you uncheck that checkbox and enter a width and height yourself, you may end up with a squeezed or stretched image. That's why you should avoid resizing a selected area by dragging its corner handle: it's very hard not to distort the content of the selection by resizing manually. Use the steps above instead!
Click OK when you are done, and Paint takes care of the rest. The results will depend on the content of your image. In my case, I shrunk by 4 the image of this painting (by entering "25" as a percentage). It looks great, which is nearly always the case when you resize down. When you resize up (make larger), Paint has to interpolate extra pixels that didn't exist before. Bottom line? Avoid resizing "up", because the resulting image nearly always looks blurry!
Bonus Tip - Free form resizing:
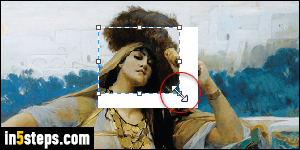
I don't recommend that you ever resize this way, but this is to clarify what I said in Step 4. Notice the resize handles on each corner and side of the selected area? Drag any of them, and the content of the selection gets resized!