When you need to trim an image to create small (fast to download) pictures for the web, it's sometimes hard to figure out what the smallest image dimension you can get away with. In other words, what is the largest-width, and what is the highest-height object in any of the layers. Practical application? When I created the tutorial logos for in 5 steps, I wanted that topical image to be as small as possible, yet be of the same dimensions for all the logos.

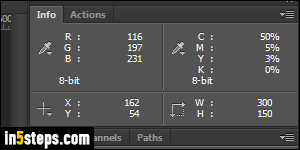
While this tutorial's screenshots were taken in Photoshop CS6, that technique works in all recent versions of Photoshop (CS2 / CS3 / CS4 / CS5 / CC 2015), and probably also in Photoshop 7 and earlier! There are two ways of doing this, but first, make sure that the Info palette is visible: hit the F8 function key keyboard shortcut to show it / focus on its tab, or go to Window > Info.

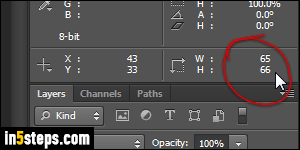
The first technique is to use the Transform command: you can access it quickly by hitting Ctrl+T on Windows, or Cmd+T on Mac OS X. When the layer's content is ready to be transformed, it's maximum, outer dimensions will be measured and shown in the Info palette, as shown on the right. Note: the command doesn't work on text (type layers) unless they've been rasterized.

Aside from not working on type, the limitation of this approach is that it only works on whichever layers is currently selected. So, remember it when you're only working with a layer or two - otherwise, just use the next method.

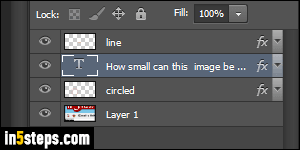
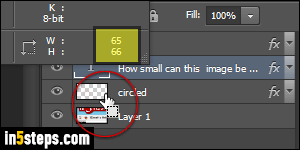
With the Layers palette visible (Window > Layers), hold down the control key (Ctrl, on Windows), or command key (Cmd, on Mac), and keep it held down. Now click on the thumbnail of each layer you're interested in, and look at its content's width and height in the Info palette. Notice (screenshot) how clicking on an inactive layer works fine. Remember the largest width and the largest height of all layers: these are the minimum image dimensions you need!

