

For Microsoft, merging its business mail offering (Outlook Web Access / Office 365) and consumer webmail (MSN / Live.com / Hotmail / Outlook.com), was a chance to rename the service: meet "Outlook Mail". Besides a new name, it brings a redesigned interface, and long-lost features like the ability to have real themes to customize your experience! This is the first of a series of tutorials dedicated to Microsoft latest venture into the world of free webmail.
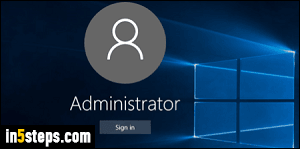
Creating your account is free, and it becomes your "Microsoft account", which can also be used to log into Windows 10. Find the sign-up form on this page.
Tip: if someone is currently logged in, log out and start over with that link!
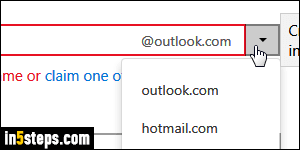
Now enter your contact information: the first and last name you enter become your "From" display name, visible to anyone you email from Outlook Mail. Your "user name" is the part of the email address that comes before the "@" symbol. Microsoft currently lets you pick between an @outlook.com or @hotmail.com email address: remember that if you get the "Someone already has this email address" error message, and pick the other domain from the dropdown!

Password, country, gender, and birth date are all required fields. Next comes your account verification info: you have to provide either a phone number or an alternate email address. That information is used if you get locked out of your account, so that you can regain access. Entering a cell phone also lets you secure your account with "two-factor authentication" (more on that later).
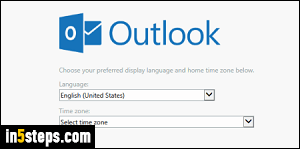
Double-check everything, enter the captcha code (weird letters to match at the bottom), and consider reviewing the privacy policy and terms of use. Once you're ready, click on the Create account button. Within seconds, you'll be redirected to a page letting you pick your time zone, which then redirects to your inbox. You can now start using your new Outlook email account!