

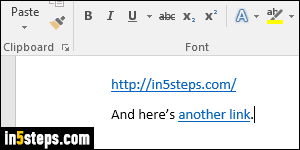
By default, clickable links ("hyperlinks") you add to your Word documents are pure blue, and underlined. It makes them unmistakable, but doesn't look very nice. In later versions, it's a more subtle blue, like the screenshot. You can easily change both settings. I used Word 2016 for this tutorial, but the steps are identical in Word 2013 and Word 2010 (and even Word 2007!) This will affect both URLs -web addresses- you paste, as well as words you make into links.
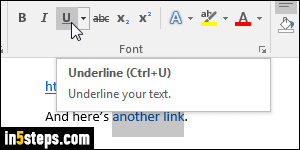
To remove the underline from a single link in your document, it's easy: highlight the hyperlink's text or the full URL, and toggle the underlined status by clicking on the U icon in the ribbon, or hit the equivalent keyboard shortcut of Ctrl+U. On Mac OS X, the underline hotkey is Cmd+U. You'll probably have to press it twice: the first time, Word adds an underline (links are underlined by default, not because you added that formatting), and removes it the second time.
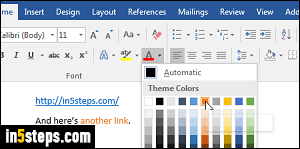
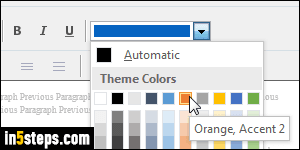
To change the color for that one particular link, treat it as regular text: select it, then click on the Font Color button's dropdown arrow (see the screenshot), and pick any color you like. Notice that Word 2016 gives you a real time preview of the change before you actually click on a color swatch. To get even more choices, you can click on More Colors at the bottom of that popup.
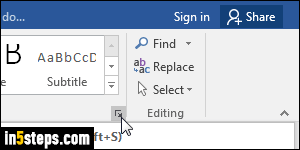
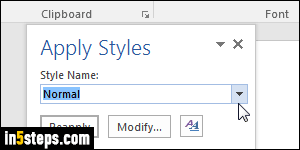
That's all fine if you only have a link or two in your document, but what if you have lots of them? In that case, you'll want to change the default styling for hyperlinks: you can do it for this document only, or make it the default link style for all documents you create in that particular copy of Word. Either way, make sure that the Home tab is selected in the ribbon, and click on the tiny arrow square button in the Styles area, just like I'm doing on the screenshot.
This will open a popup, filled with all default styles: find the one for Hyperlink, normally listed at the bottom. Right-click on it and choose "Modify". The dialog that opens shows you the current style applied by default to a link. Make the changes you want - like picking a different color or removing the underline! It only affects this particular document unless you select "New documents based on this template" at the bottom. When you are done, click OK.
Bonus Tips:
- If some links did not use your new style, they were probably overridden with specific colors and formatting options. Pick "Automatic" as default color.
- Unless you created your own template to override "Normal.dot", the change you just made automatically applies to all new documents if you selected "New documents based on this template". Behind-the-scenes, Word automatically uses a default template called "Normal.dot" - don't let this confuse you!