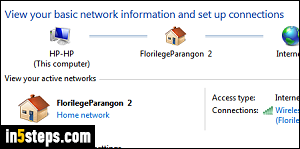
When you physically plug a printer into your PC running Windows 7 / 8 / 10, the computer will detect it right away, automatically install all the drivers you need (most of the time), and you are ready to go. In the case of a wireless printer on your local network, you'll have to manually add it. Once it is setup, Windows will show it in your available printers whenever it is online. After the initial setup, a wireless printer works just like a regular printer, or a PDF print driver tool.
In 5 steps
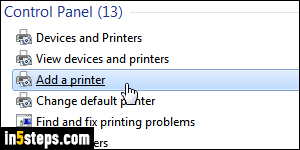
First, open the start menu, and type "print" in the search field. Then, click on the Add a printer link result under Control Panel. If you get a "local print spooler service is not running" error message, follow the steps in that tutorial to re-enable your print queue. Once that is fixed, come back to this tutorial.
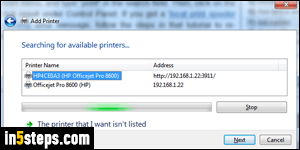
When the Add Printer wizard opens, click on "Add a network wireless or Bluetooth printer". In that scenario, Windows will know to scan the network, as opposed to physical ports on your computer. Windows will start searching: once you see the printer you'd like to add, click to select it, and click Next.
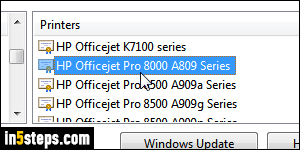
If you get a "The printer installation failed. Access is denied" error message, see if you have a second entry for that printer. If so, select it and click Next. If you are connecting to a major brand printer (HP, Epson, Canon, Brother, etc.), Windows 7 should have all the drivers you need, or know where to get them from. Select the brand on the left, and your printer on the right. If your exact model number isn't listed (like 8600), pick the base number instead (8000).
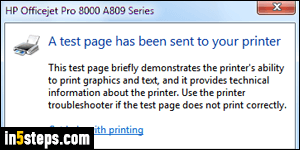
Click Next to install the drivers. The last screen will confirm that you've successfully added the printer, but do click on Print a test page to double-check that everything works fine. If it did, click Finish: you're ready to use your new wireless printer! If you weren't able to print, go manually download the drivers (piece of software that lets the printer and Windows communicate) from the manufacturer's website. Once they're installed, print a test page yourself.

