

You can use email messages' read/unread status to keep track of things you have to do, and filter to show only unread messages. That's not ideal, because depending on your settings and the email program / mobile mail app you are using, an email can easily be marked as read by accident. Flags to the rescue! Each message can be flagged to stand out from others in the folder, and basic flags are supported by all mail clients and protocols (IMAP, POP, and others).
If you added an email account as IMAP, it will only have a basic flag in those IMAP folders (screenshot). But Outlook supports many more flags: and while you can manually set reminders for yourself, you can attach reminders to flags (even better!) This functionality is only available for local emails: messages that you've moved to a local folder (on your computer), or POP3 email accounts that download their emails to your PC anyway, and saves them to a PST file.
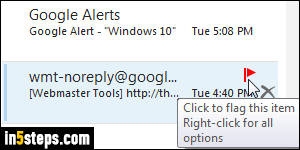
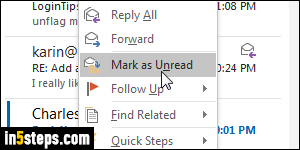
To flag a message, mouse over it and click on the flag icon - see screenshot. Depending on your view, this might not be visible: in that case, right-click on the email and choose "Follow up > Flag message". (Screenshots were taken with Outlook 2016, but all this also applies to Outlook 2013 and Outlook 2010!)
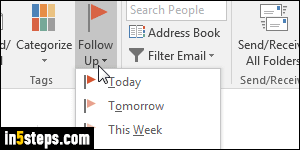
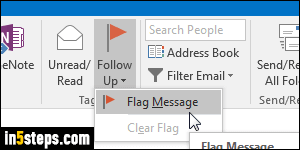
Yet another way is to select the Home tab in the ribbon, and click on the Follow Up dropdown button. (It's hidden by default, but you can pin Outlook's ribbon so to make it visible at all times.) For IMAP accounts, only a basic flag will be shown. For POP3 accounts, or emails saved to a local folder, Outlook shows all kinds of options, like flagging messages for Today, Tomorrow, This Week, Next Week, or Custom. The No Date flag is the IMAP, basic flag.
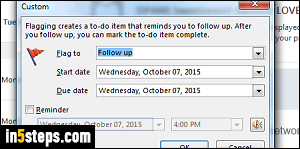
The Custom flag option opens the dialog shown on the screenshot: you can set the type of flag (follow up, FYI, Forward, etc.), the Start date, the Due date, and optionally assign a reminder to that message. (Clicking on the speaker icon even lets you choose a custom sound for the reminder!) Click OK to flag.
Tip: to set a basic, no-date flag, hit the insert key (Ins) as keyboard shortcut!
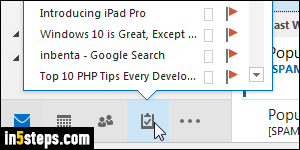
Bonus Tips: you can easily see flagged messages by their icon in the current email folder, but Outlook goes a step further: click on the tasks button in the bottom right corner (Ctrl+4 hotkey). Task view shows tasks and flagged emails. From it, click on the flag icon to unflag a message. In email folders, you can right-click on a message and choose "Clear Flag" or "Mark Complete". Moving your mouse above the Tasks button shows a preview of flagged items!