

You can add as many email addresses per domain in your Rackspace Cloud Sites account. The only unfortunate limitation, which Rackspace has had in place for years, is that each mailbox cannot go over its 1 gigabyte storage limit. That's plenty for a seldom use email account, but you'll quickly hit that storage maximum for an email account you use daily. Having several addresses is a nice workaround, and adding email address to a domain is very easy!
In 5 steps
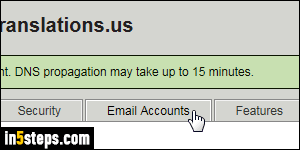
First, log into the Rackspace Control Panel. Assuming that you already added the domain to Rackspace Cloud Sites, find it in the listing and click on it. Once it loads, click on the Email Accounts at the bottom (see first screenshot).
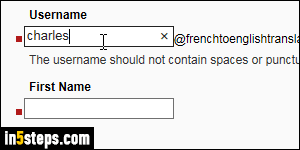
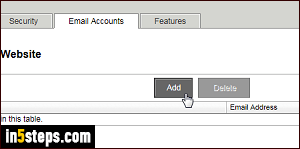
Click on the Add button at the top to create a standard email address. A later tutorial will show you how to create a contact group (distribution list) - hint: you'd click on the Manage Alias button. Type the email account's username.
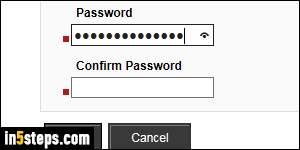
The first name and last name you type will be used as display name once the email account is ready. The user can then change them to whatever they like. The password is difficult to pick, because Rackspace's requirements are so stringent: it must be 6 to 30 characters long, and respect a blacklist of character (sequences). Rackspace will tell you when it accepts the password. Review everything for typos, and click on the Add button to create the email account.
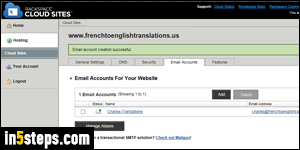
Within a few seconds, you'll be redirected to the screen you came from, with a list of all email addresses setup for that particular domain. Click on any one to change its display name or password. Rackspace no longer lets you view email accounts' passwords: if someone forgets their credentials, just change their email password to something temporary. The user can then change that password to anything they want from the webmail client's Settings window!