

Once of the nice things about Rackspace Cloud Sites is that the number of domains you host in your account is unlimited. That allows for a predictable web hosting bill every month. Switching to that service ($150 / month) is the most difficult decision, since you could find hosting packages for 10 times less. But if you're hosting high-traffic sites, this service and/or Amazon Web Services (AWS) are no-brainers. Here's how easily you add a domain to Cloud Sites.
In 5 steps
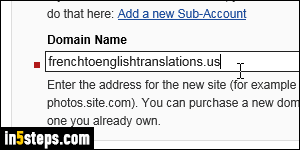
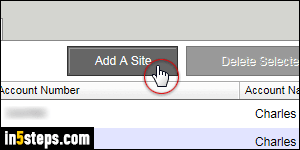
Once logged into the Control Panel, click on Hosting on the left, and select Cloud Sites. Once the list of currently hosted websites has loaded (this may take a while!), click on the Add A Site button, as shown in the first screenshot. Then, select the Account under which that domain should be hosted. (By default, this site will share the same FTP password as other sites for that sub-account.) Now type the domain name and click on the Add New Site button.
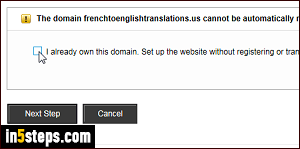
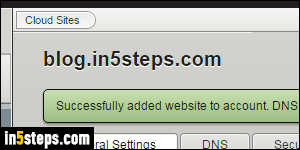
Unless you're purchasing the domain from Rackspace, check the "I already own this domain [...]" checkbox. There's unfortunately no way of bypassing this step from the first screen. Note that Rackspace won't check if you actually do, but that checkbox won't be there if the domain is not registered: once you add the new site, you can use the preview link (no need for a live domain!)
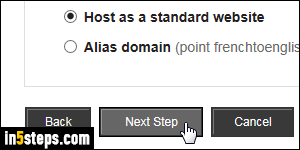
An Alias Domain isn't good for SEO, since it creates a 302 redirect: so, even if you're hosting a more human-friendly domain just for redirection purposes, set it up like a normal website, and create your own 301 redirect page from the index page (in PHP, Classic ASP, or ASP.NET) - now click Next Step.
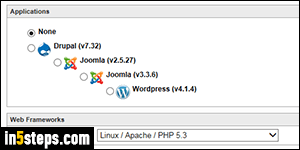
For a plain-vanilla website you'll create yourself, keep None selected; otherwise, choose your platform (Drupal, Joomla, or WordPress as of this writing). Finally, select a "web framework", more commonly known as your technology stack: Linux / Apache / PHP, or Windows Server / IIS / ASP.NET. Note that you can connect to a MySQL or Microsoft SQL database regardless of the tech you choose. Click Next Step, review everything, and click Finish!
Bonus Tip: as you can tell from the previous screenshot, Rackspace supports popular CMS platforms out-of-the-box, like Drupal and Joomla. It also supports WordPress, the most popular blogging platform, which requires special configuration: learn how to add a WordPress blog to Rackspace Cloud Sites!