

While Microsoft Word is designed to be used in concert with other apps from the Office suite, it doesn't have to be. Emailing the current document as email attachment, for example, will use whatever default email program is currently set in Windows (or Mac OS X). For this tutorial, I'll use Word 2016 and Outlook 2016, but the steps are exact the same with Word 2013 and Word 2010!
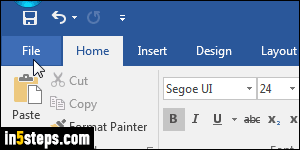
Once in Word, saved your document beforehand (both to send its latest version, and to avoid issues in case it crashes - though you can usually recover unsaved documents!) Then, click on the File button in the top left corner.
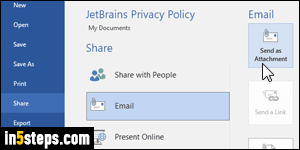
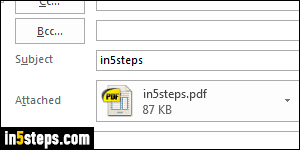
Now click Share on the left of Backstage view. You have multiple options: select Email. The most popular choice will be to Send as Attachment. Clicking on that button on the right generates a new message, with a copy of your Word document attached to it. Nearly all email apps will understand the command Word sends; if not, manually attach the file from your email program.
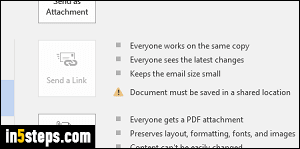
The Send as Link command is disabled (grayed out) unless you work on a Microsoft network set up in some way (a SharePoint server, for example).
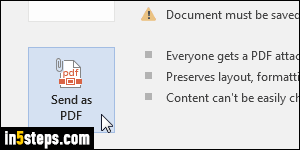
Two other nice options are the ability to send that document directly as a PDF, or as an XPS file. (PDF is the best choice: just about anyone will be able to view your document!) An earlier tutorial explained how to convert Word documents into PDF: you don't even need to do that. By selecting the Send as PDF command, Word will automatically convert to and attach the PDF!