

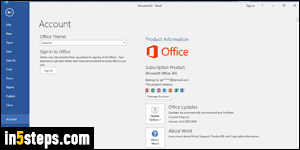
Depending on how you configured Windows Update, and the options you picked when installing Microsoft Office on your PC or Mac, you might be automatically receiving updates. If you don't know if you're using the latest version Word, you can check it manually. This tutorial shows Word 2016, but all steps (except where noted) are the same in Word 2013 and Word 2010!
In 5 steps
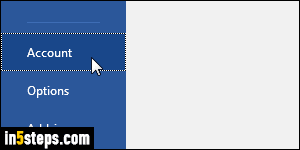
In any version of Word, click on the File button (top left corner).
- Word 2010: select Help on the left, click Check for Updates on the right.
- Word 2016 and Word 2013: select "Account" on the left; the rest of this tutorial focuses on these latest versions (2016 is current, as of today).
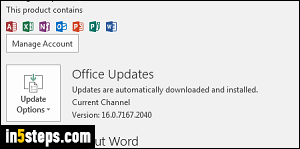
On the screenshot, you can tell which Microsoft Office products you "own": in the case of Office 365, where you pay monthly for access, you don't really own anything. If you stop paying your subscription fee, you can no longer use any software in the suite (that's the "Software as a Service" business model).
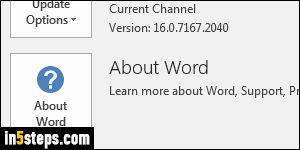
If Word says "Updates are automatically downloaded and installed", no need to do anything manually: when patches are released, they'll be installed on your PC, via Windows Update. The full Word version number shows at the bottom: digits before the first period are the major version. Word 16 is Word 2016 (just a coincidence!), Word 15 is Word 2013, Word 14 is Word 2010, and so on.
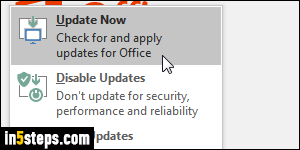
Click on the Update Options dropdown button: Update Now manually checks for updates. Disable Updates (not recommended) would prevent Office from checking Microsoft's servers for latest patches. And the View Updates option launches a web page detailing the latest changes. To view any update actually installed on your computer, go through your Windows Update history.