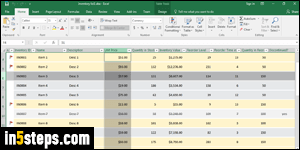
If you forgot to add something in your spreadsheet, don't worry: Excel is designed to deal with change. It looks like it has a fixed index of rows and columns, but you can insert rows or columns anywhere (or delete them!), and Excel handles of the rest. Nearly every formula will be seamlessly updated, with no need to manually reconfigure it. And with the new Excel file format (xlsx), it's near impossible to hit the maximum limit of number of rows and columns!

Inserting a column with the mouse:
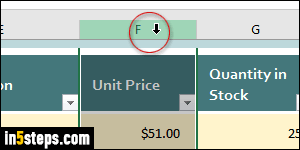
Click on the column's header to select all cells under it: the new column will be added to the left of (before) that column. If you're not that familiar with the selection process, read the "Select rows and columns in Excel" tutorial. Now right-click on the selected column's header and choose Insert. Click the Undo button or hit Ctrl+Z (Windows) / Command+Z (Mac OS X) to remove it!

Insert a column with keyboard shortcuts only!
Once the active cell is in the column you want to delete, hit Esc to exit editing mode. In Excel 2016, hit the App key (screenshot), type the letter "i" to Insert, then Enter, and then the letter "C" for Column. In Excel 2013 / 2010, hold down the Ctrl key and hit the space bar to select that column. Then, hit the App key and type the letter "i" - the accelerator key for the Insert command!

Inserting a row with the mouse:
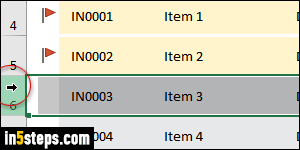
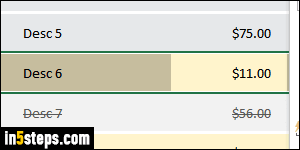
Right-click on the row header, as shown on the screenshot, and choose Insert from the context menu. The new row will be added right above (before) the row on whose header you just right-clicked. Here too, clicking Undo removes it!

Insert a row with the keyboard only:
In Excel 2016, hit the App key, the letter "i", and Enter to select the Insert submenu - then, "R" to insert a row. (Unfortunately, you have to hit Enter after "i" because Microsoft assigned that accelerator key to two different commands!) In earlier versions of Excel, hit Shift and the space bar to select the current row, hit the App key, and then the letter "i" to insert that new row.

