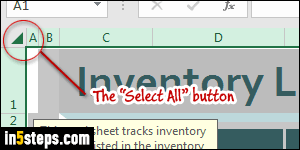
Just like selecting files in Windows Explorer, learning how to properly (and quickly!) select columns and rows in Excel is a foundational skill. I'll show you advanced selection tips with both the mouse and keyboard shortcuts! First, like nearly all windows applications, hit the Ctrl+A keyboard shortcut to select everything in the file. Excel also has a "Select All" button (see screenshot). I'm using Excel 2016, but all steps work in Excel 2013 / 2010 and earlier.
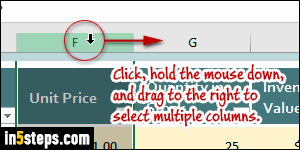
Selecting columns with the mouse:
To select one column, click on its header. To select multiple columns, click on the leftmost column's header, and drag over other headers (screenshot).
To add individual columns to your selection, hold down the Ctrl key on your keyboard and click on a column's header: repeat as many times as needed.
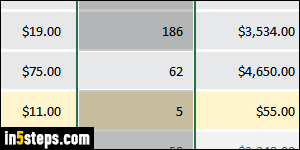
Selecting columns with the keyboard:
Click or move to any cell in the column you want selected: if you were editing it, hit Esc to exit "edit mode" (otherwise, the keyboard shortcut will end up typing inside the cell instead of selecting!) Now hold down the Ctrl key and hit the space bar. The current column is selected; release both keys. Now hold down the Shift key and use the left and right arrow keys to select more columns!
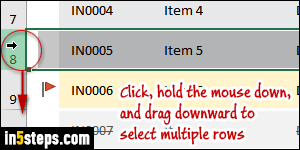
Selecting rows with the mouse:
To select a single row, click on its header: that's the list of buttons on the left, that contain numbers in increasing order. To select multiple rows, just keep the mouse button held down, and drag up or down as needed!
To select an additional row, hold down Ctrl and click on that row's header; to select every other row, you would Ctrl-click on even or odd headers.
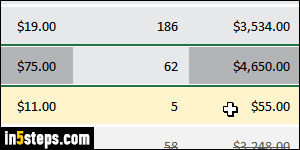
Selecting rows with the keyboard:
First, click or go to a cell (with the arrow keys) that is inside the row you want selected. If you were editing that cell, hit Esc to exit edit mode. Now hold down the Shift key and hit the space bar: the entire row is selected! To select more rows, keep the Shift key held down, and use the up or down arrow keys.

