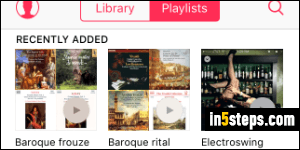
After you upgrade to iOS 9, the Apple's Music app for iPhone / iPad / iPod touch will no longer show you all songs by an artist as an automatically playable playlist of all his or her song. Custom playlists to the rescue! In this tutorial, I'll show you how to create new, custom playlists directly from your phone or tablet, without having to go through iTunes on your Mac or Windows PC.
In 5 steps
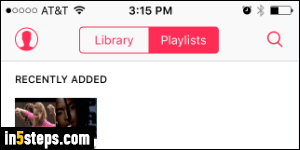
Launch the Music app for iOS: if needed, tap on the "My Music" icon in the bottom left corner. Now make sure that "Playlists" is selected at the top. By default, you have only one playlist, called "Recently Added" - songs that you've imported, purchased from your device, or re-downloaded not too long ago.

Tap on the "+ New Playlist" button / link below the listing. Your to playlists, if any, will be listed at the top, and all remaining ones will be below that button.
Type a meaningful name for your playlist under Add Title, and optionally add a description. Naming tip: playlists will be automatically sorted alphabetically.
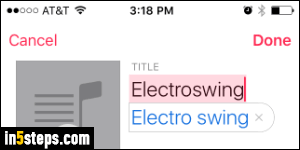
To make your playlist recognizable, tap on the camera icon to take a picture to use as playlist cover, or pick one from your library (Photos app or iCloud collection). If you use a screenshot of an album, iOS will let you pick the square portion to use! Otherwise, iOS will generate an image based on albums added.
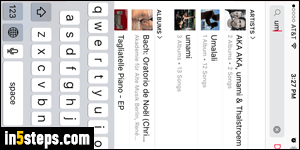
Tap on the Add Songs button to populate your playlist: you can find a song by artist, album, or genre. In most cases, it will probably be quicker to just type the first few letters of the song or album name in the text box at the top. Tip: searching by artist name lets you add entire albums to your list in a single tap! Tap on the Done button (top right) to save and create your playlist.
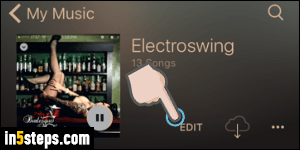
Bonus Tip - making changes to an existing playlist:
You can go back to a playlist at any time to rename it, change its cover photo, or add / remove songs to the list. From the Music app, select the playlist. When it loads, tap on the tiny EDIT link: it's on the right of the picture (screenshot).

