

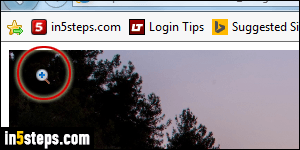
Internet Explorer 11/10/9 will automatically resize images you find online to fit the window if that photo is too large. That's useful in some cases, annoying in others. Before I show you how to disable image-auto-resizing, here's a tip: when the picture has been shrunk, Internet Explorer shows a magnifying glass as cursor. Click on the image to show it full size! (Example image found using the tricks explained in the "Use Google images to find wallpapers" tutorial :)
In 5 steps
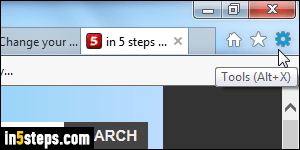
First, click on the gear icon in the top right corner, and select Internet options at the bottom. If you are showing Internet Explorer's classic menus, you can click on the Tools menu (the gear icon pretty much mirrors what it contains).
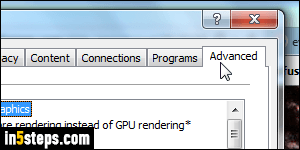
When the Options dialog opens, select the Advanced tab at the top.
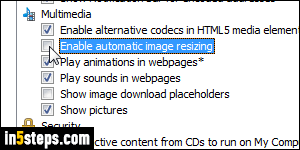
Scroll down to the very bottom: look for the Multimedia settings (second group from the bottom). Uncheck the Enable automatic image resizing checkbox and click OK to save your settings. This option takes effect right away, no need to restart Internet Explorer. Here's a beautiful sample image from Wikipedia, which you can admire, and use to check if IE automatically resizes it :)
Bonus Tip: once image auto-resizing has been turned off, you can still see the entire picture by zooming out. The fastest way to do that? Hold down the Ctrl key on your keyboard and scroll your mouse wheel down (or use two-finger-scroll on your laptop's trackpad). Hit Ctrl+0 (zero) to reset to the normal zoom level: learn more about zooming in / zooming out in Internet Explorer.