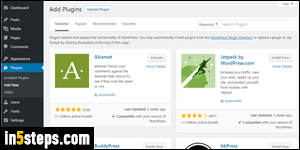
One of WordPress' biggest strengths is its huge ecosystem of plugins: thanks to the blogging platform's popularity, there's a plugin for just about anything you can think of. Best of all, they're really easy to find and install. The entire experience is fully integrated, so you can do everything in your dashboard! In this tutorial, I'll add the Simple Custom CSS plugin (to customize the current theme's appearance). But the installation process is the same for all plugins!
In 5 steps
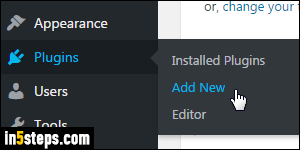
Once logged into your WordPress dashboard, mouse over the Plugins section on the left, and select Add New from the menu. You will be redirected to a page that lists the currently featured plugins. Since I already know exactly what I want, I'll type the plugin name in the search box and hit Enter. (Tip: to find an exact match, use double-quotes around the words you're searching for!)
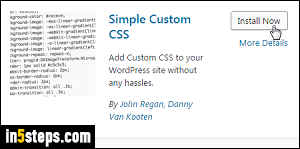
Once you found a plugin you like, click on the Install Now button: this will load the plugin for your profile, but won't automatically activate it. This is a nice feature, because it means that you can add plugins you know you'll eventually use, but don't have to see them listed until you actually need them!
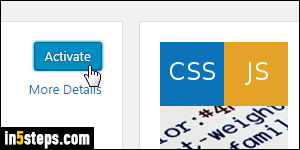
Typically, the installation process only takes a few seconds. At the end, you'll see the Install Now button become a blue "Activate" button. You can't start using a plugin until you've activated it, so I'll click on that button.
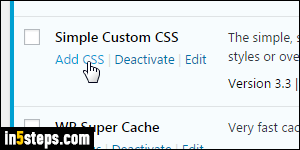
What comes next depends on the type of plugin you installed: some of them automatically change WordPress' behavior or features. For the one I just installed, I need to find it and click on its link to launch the editor. To see your plugins, mouse over Plugins again, but this time select "Installed Plugins" from the menu. They're sorted alphabetically; in my case, I'll click on the "Add CSS" link. Notice that you can also Deactivate any plugin from this screen!

