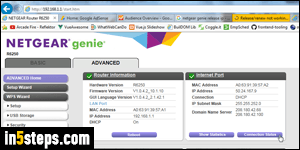
When you connect your Netgear router to your cable modem (or whatever device provides your internet connection), it will automatically get allocated an external IP address through "DHCP". This means that your internet provider will "give" you one of their IP addresses currently available. Normally, you keep using the same IP address unless you manually disconnect it, or stay offline for an extended period of time. But switching IP address (known as "release and renew") is a good way of troubleshooting internet connectivity problems!
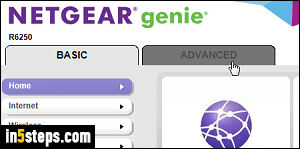
First, I assume that you already know how to login to your Netgear router; if not, read that tutorial and come back to this page. Once you are signed into your Netgear Genie, click on the Advanced tab on the right (see screenshot).
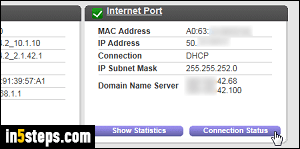
Once the next screen has loaded, click on the purple Connection Status button on the right, under Internet Port. This will open a popup window, so make sure that your web browser doesn't block it. (Tip: in Internet Explorer, you can temporarily override your popup blocker by holding down simultaneously the Ctrl and Alt keys on your keyboard, while clicking the link / button.)
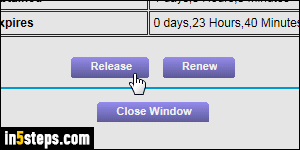
The popup that opens gives you a summary of how long you've been connected, subnet mask, default gateway, etc. The lease obtained tells you for how long you've had the same external IP address. You can ignore the lease expires line, since it's automatically renewed if you are using your connection. Click on the Release button to manually let go of that IP address.
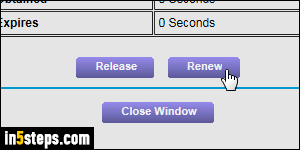
Wait 15-20 seconds to make sure that the IP address has been fully released. Then, click on the Renew button: make sure to do that, otherwise you'll be without internet connection! (The reason you are able to access your Netgear router is that it is on your local network, so you don't need an internet connection for that.) Close that window, and logout when you are done.

