

Until Office 2007, Word saved files in the "DOC" format. Since then, Microsoft adopted the "DOCX" format, which is open but still not as universal as the original. To make sure that anyone can open / view your documents, save them in compatibility mode, using the DOC format - whether they have Word installed on their computer, phone, or tablet, and whether they are using Windows, Mac OS X, Linux, or a mobile operating system like iOS or Android.
In 5 steps
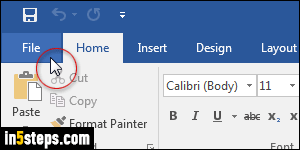
This tutorial shows Word 2016, but the steps are the same in Word 2013, Word 2010, and even Word 2007! Once in your Word document, click on the File button in the top left corner of the window (it's an Office logo in Word 2007).
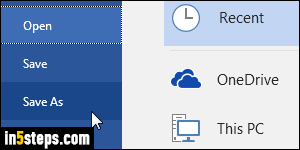
Then, select Save As in the left column of the "Backstage view" / File menu.

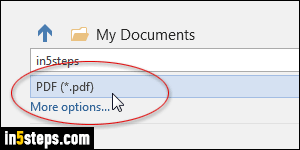
In Word 2016 and Word 2013, select "Word 97-2003 Document (*.doc)" from the dropdown menu on the right. In Word 2010 and Word 2007, pick that same option from the File Type dropdown in the Save-As dialog that opens. Caution: any edits you now make will affect the DOC file - not the original one!
Tip: since the latest Word format includes new functionality, it's best to save compatibility-mode documents when you create them (especially password-protected documents!) That way, you won't worry about which features were removed from your doc when saving it in backward-compatible format!
Tip # 2: create your documents in DOCX, and then save them as PDF!