

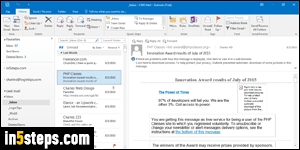
By default, Microsoft Outlook will automatically open the inbox of the first email account you added, which isn't necessarily the one you use most often. You can easily change which email folder opens when you launch Outlook, by tweaking your "default startup folder" setting. I'm using Outlook 2016 for this tutorial, but the steps are exactly the same in Outlook 2013 and Outlook 2010!
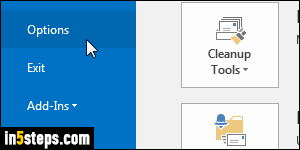
Once in Outlook's main window, click on the File button in the top left corner, and select Options from the Backstage view. In the Outlook Options popup that just opened, select the "Advanced" settings on the left.
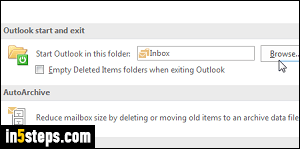
Under the second header, Outlook start and exit, an email folder will be listed: that's the one Outlook automatically opens to when you launch the program. Click on the Browse button next to "Start Outlook in this folder". This opens the familiar dialog you see when moving emails (for example). Navigate through your accounts and folder hierarchy to find the one you want. Typically, it makes sense to use the inbox of your primary email account as startup folder.
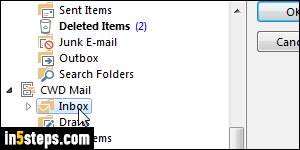
Select the default folder you want to use, and click on OK. Notice that the Outlook start and exit settings also include another feature: check the "Empty Deleted Items folders when exiting Outlook". I don't necessarily recommend using it, but it's there! Click OK once more to save your Outlook Options.
Your new default startup folder option takes effect immediately, but won't be visible until the next time you start Outlook, which I just did. Wow: isn't nice not to have to manually go to the folder you use all the time? It's easy to get into routines, and forget that computers are there to make our lives easier :)