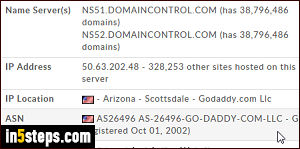
By default, any domain you purchased with GoDaddy.com as registrar will automatically be assigned GoDaddy's own nameservers addresses, which are NS[...].DOMAINCONTROL.COM (the numbers after the NS prefix / subdomain vary). That's fine if you are hosting that website with GoDaddy: otherwise, you need change nameservers to make them point to your current web host.
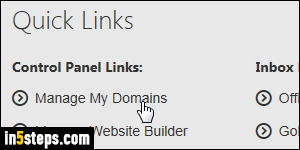
First, sign into your GoDaddy account: once you are logged in, click on the My Account dropdown in the top right corner of the page, and click on the "Manage My Domains" link on the left ("Quick Links"). This will load the list of all unexpired domains you currently have registered with GoDaddy. If you can't find a domain, it is likely expired, or purchased through a different registrar.
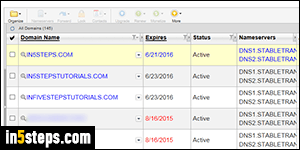
You can sort your domains by clicking on the column headers: unless you've customized which columns to show, the nameservers associated with each domain are listed in the fourth column (fifth, if you count the checkboxes). You can also type the domain name in the search box on the right to quickly find it in the listing. Click on the current nameservers to edit these settings.
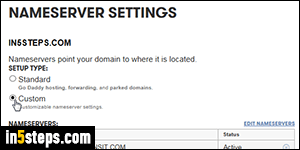
This opens the Nameserver Settings popup: double-check that the correct domain is selected (first line). With "Standard" selected, the domain points to GoDaddy's own name servers. To host with a different web hosting company, pick "Custom", and add those nameservers. If change existing custom DNS info, click "Edit Nameservers". You can click on the "Add Nameserver" button at the bottom to add a third nameserver address for that particular domain.
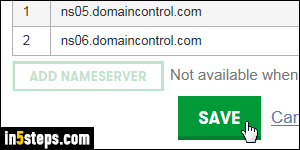
Click Save to apply your change: generally, the propagation of the updated DNS information is pretty quick - just a few hours. However, to make sure that all DNS servers around the world reflect your new nameservers, the safest approach is to count 48 hours for the change to be complete. It may take a few minutes before GoDaddy shows the new nameservers in Domain Manager.

