


By default, new posts you publish on your WordPress blog or website will be visible by anyone who visits it. But you can temporarily (or permanently) hide a post by changing its visibility, or even delete it from the underlying database!
In 5 steps
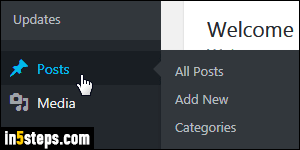
Once logged into your WordPress dashboard, click on Posts on the left. (Tip: you don't need to explicitly select All Posts in the submenu!) All posts you've ever created will be listed on the next screen. Find the one you want to hide.
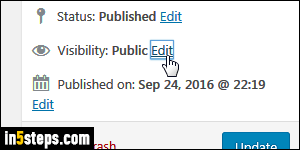
Mouse over the post you want to hide, and click on its title. Clicking on the Edit link that appears when you mouse over does the same thing, but the first is quicker! When the post has loaded, click on the Edit link next to its Visibility on the right. If it currently says "Public", anyone can see it on your blog / site.
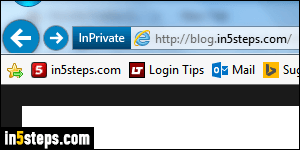
Select "Private" and click OK: the Visibility now says Private, but your post won't be hidden until you actually click on the Update button! You can easily verify this by visiting your blog, only to see the post still listed in it. Caveat: if you visit your blog while logged into WordPress, you may still see the post: use a different browser, or use private browsing for a fresh look (the "incognito" feature in Chrome, "InPrivate" in IE, or "private browsing" in Firefox).
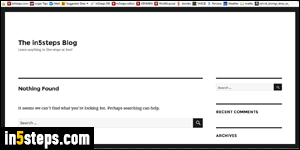
Bonus Tip: If your blog, or an article page, says "Nothing Found. It seems we can’t find what you’re looking for. Perhaps searching can help", you've hidden or deleted that post (assuming that the URL is correct!) Always have at least one post publicly visible! If you linked to a now hidden or deleted post, remove those links. To make your life easier, leave all your posts public if possible! (If you want to restrict access, you can also password-protect a WordPress post.)