

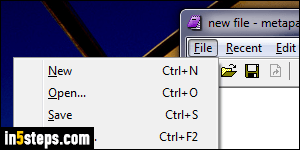
Depending on your settings, the Wacom or other tablets you might have connected to your PC, the latest updates you may have installed, whether your PC sports a touch screen or not, you may all of a sudden find that all menus open to the left, instead of their normal position, to the right. The first time it happened, it took me a while to figure out what the reason was - here goes.
In 5 steps
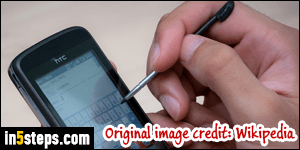
Although most computers running Windows 7 are desktops and laptops, Windows 7 comes with built-in support for touch screens and stylus input. Since most people are right-handed, the menus show up on the left when you are using a stylus (or when Windows thinks you're possibly using one). Otherwise, your hand would cover the menu that opens to the right, making it useless!
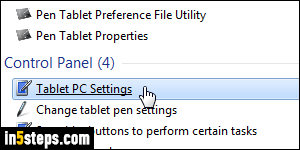
To fix that, open the start menu, and type "tablet" in the search field. Now click on the Tablet PC Settings link that appears under Control Panel.
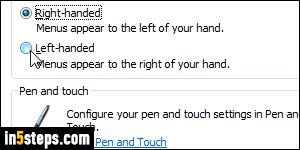
When the Tablet PC Settings dialog opens, select the "Other" tab at the top. Because your menus are appearing on the left, the "Right-handed" option will be selected: pick "Left-handed" and click OK to save the change.
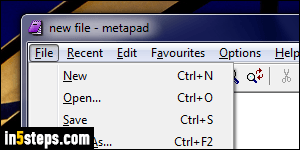
This change will take effect immediately, no need to restart Windows. Contrast this screenshot with the first one: your menu no longer opens to the left, it's properly docked to the right. I used Metapad as example, but the tablet PC settings issue affects all programs that use classic menus. (Some apps "paint" their own menus, thus don't follow the operating system's conventions to begin with - those programs will always open menus the way they want.)