

If you regularly access the same location on the local network (LAN), it makes sense to map it as a drive. That means that you'll be able to access this particular shared folder as if it were a drive on your PC: typing the drive name, with a colon and a backslash directly loads the content of that network folder. Example: use the letter "S:\" for the folder where you Share documents.
In 5 steps
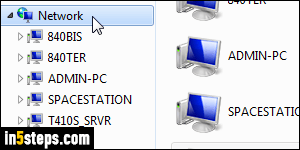
First, launch Windows Explorer (by opening the start menu and clicking "Documents" on the right, for example). When the window opens, click on "Network" near the bottom right corner to show all computers in your local network or HomeGroup / WorkGroup. Once you found the one that hosts the folder whose content you want to access, double-click on it. If prompted to do so, enter the corresponding username and password to access that PC.
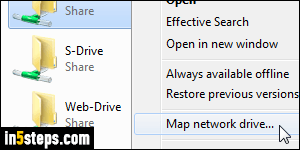
The computer will "open", and show the folders that have been shared for the credentials you entered. (Windows lets you selectively share your files and folders by restricting some to be only visible to specific users.) Find the folder you want and right-click on it. Choose "Map network drive" from the menu.
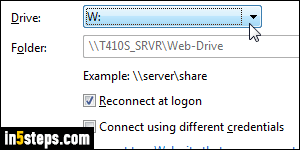
In the Map Network Drive popup, pick the drive letter you want for that shared folder. (Only available letters appear in the Drive dropdown.) If you plan on reconnecting to that drive next time you start Windows, keep the "Reconnect at logon" checkbox checked. If you wanted to reconnect using a different username and password than the ones you optionally entered earlier, check the "Connect using different credentials" checkbox, and supply them.
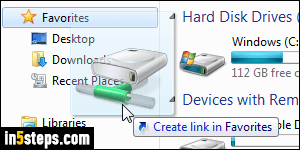
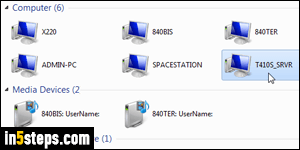
Click on Finish to complete the mapping: your new "drive" will open in a new Explorer window. Now hold down the Alt key and hit the Up arrow key on your keyboard. That goes "up one level", and in this case, will show you Windows Explorer's "Computer" screen, with all your local / network drives and peripherals. You can drag that new drive and drop it in the Navigation pane on the left. It's now visible, and one click away, inside your Explorer favorites!
Bonus Tip:
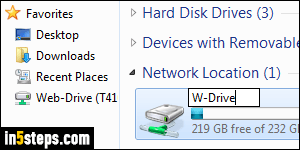
By default, the shared drive uses a weird name based on the name of the PC that hosts it. You can rename this to anything you like. And, just like renaming shortcuts doesn't affect the target program, renaming a network drive on your PC will not change anything on the network side. Right-click on the drive name, choose "Rename", type a new, more friendly name, and hit Enter.