

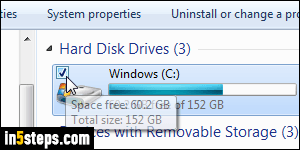
By default, Windows 7/8/10 shows checkboxes next to drives, folders, and files in Windows Explorer. This lets you easily select multiple files if you don't know these file selection tips. Hold down the control key (Ctrl) while clicking on file and folders: each control-clicked file is now selected. To deselect it, click on it, with the Ctrl key held down. Click on a file, hold down the Shift key, and click on another: these two, plus all the ones in between, will be selected!
In 5 steps
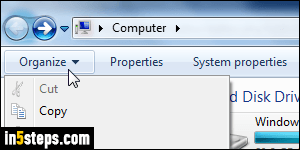
You can hide those checkboxes by customizing Windows Explorer's settings. Click on the Organize dropdown button in the upper left corner of an Explorer window, as shown on the screenshot. Select "Folder and search options" from the menu. In Windows 7 and Windows 8, you can press Alt+T to show the classic Tools menu; then, select "Folder options" at the bottom.
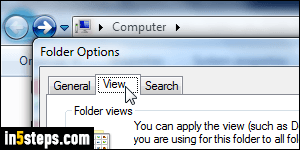
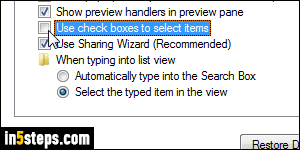
When the Folder Options dialog opens, select the View tab. In the Advanced settings scroll box, scroll to the very bottom. Uncheck the "Use check boxes to select items" checkbox (third to last option). Click OK to apply.
The new setting takes effect immediately: notice that Windows Explorer no longer shows checkboxes next to any file, folder, or drive. Compare my C:\ drive in the next step's screenshot to the first screenshot - no more checkbox!
Tip: the Ctrl-select and Shift-select tricks mentioned earlier also work with a stylus and a touch screen. If you don't want to use the on-screen keyboard to press these "modifier keys" while selecting files, go back and re-enable showing checkboxes (otherwise, you can only select one file at a time!)