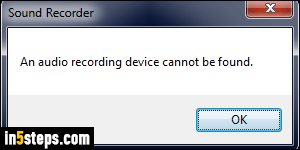
Like your webcam, external or built-in microphones can be used to remotely "listen" to sounds on a hacked computer. But sometimes, there's a much simpler explanation for disabling your microphone. I'll show you how to re-enable a microphone too. If you get the "An audio recording device cannot be found" error message (when starting the Sound Recorder, for example), all you need to do is turn your microphone back on, plug it back in, or re-enable it.
In 5 steps
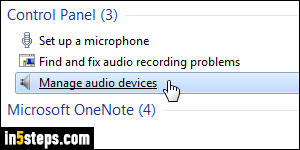
First, click on the start button and type "microphone" in the search field. Then, click on the "Manage audio devices" link under Control Panel. (FYI, this dialog also controls your computer's speakers and Windows' sound schemes.)
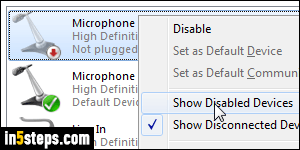
Select the "Recording" tab: to show all microphones and sound inputs available to your computer, right-click anywhere in the listing and make sure that both "Show Disabled Devices" and "Show Disconnected Devices" are selected. This will display not just built-in microphones and external ones currently plugged in, but also all the ports that can be used for audio input.
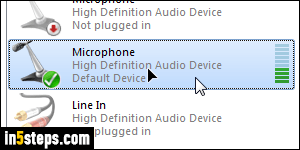
If you cannot tell which microphones in the list are currently active, just start singing like a crazy person, and you'll see the green sound bars move based on volume (see screenshot). If you're not in the mood, or not alone, just cough - that will be enough sound to be picked up by the active microphone :)
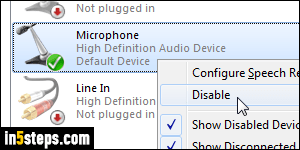
To disable a microphone, right-click on it and choose "Disable" from the context menu. Remember: as long as you've checked the menu items to show disabled devices (which Windows 7 automatically unchecks, for some reason) as well as disconnected devices, you can easily re-enable a microphone by right-clicking on it and choosing "Enable". Keep going until you've disabled all the microphones or "Line In" ports on your PC, and click OK.

