Your computer name is set when Windows 7 is first installed on your PC, once the first user creates his or her profile. You can change your computer name later on, but this requires "elevated privileges" (you need to know the administrator's password, in other words :) Often, it will be a generic name, usually based on the PC manufacturer, like "HP-PC" for a Hewlett Packard.
In 5 steps

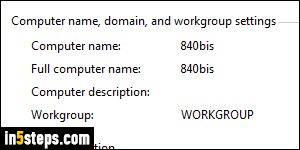
First, click on the start button: in the start menu, right-click on the word "Computer" and choose "Properties". This will open your system profile's screen in the Control Panel. This is the same screen you access when you hold down the Windows logo key (WinKey) and press the Pause / Break key, assuming that your keyboard or laptop does have that key.

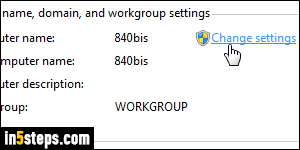
When you have your PC information in front of you, click on the "Change settings" link and enter a Windows administrator user's password. The "System Properties" dialog will open. Make sure that the "Computer Name" tab is selected: next to "To rename this computer or change its domain or workgroup..." at the bottom, click on the Change button.

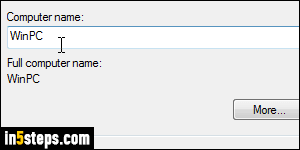
Type a new name of the old one in the "Computer name" text box and click OK. You will get a "You must restart your computer to apply these changes. Before restarting, save any open files and close all programs" message. Reboot Windows to complete the name change - the new name won't actually take effect until then, and the old one will remain visible in other places.

When Windows restarts, you'll have successfully changed your computer name. If, after renaming your computer, you start having any issues related to networking, these only come from settings that rely on your computer name. Likewise, people who connect to your PC over the local network might have issues (if you are sharing a folder, for example, and they have [mapped that shared folder to a drive name] on their own computer).

