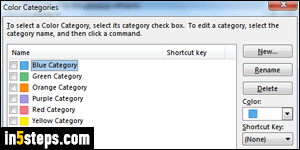
Microsoft Outlook, the desktop email program from the Office suite, has for many years supported "color categories" (shown on the screenshot), which let you quickly find and filter email messages. Outlook Mail's predecessors, Hotmail and Outlook.com, supported email categories, but never quite so flexibly. In this tutorial, I'll show you how to customize your personal categories: change their color, how to create new ones, or delete existing ones.
In 5 steps
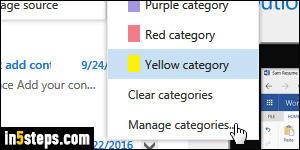
To quickly customize your categories: right-click on any message, choose Categorize, and select "Manage categories" at the bottom of that menu.
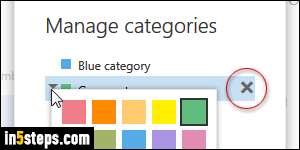
In the Manage Categories popup, you can change the color of an existing category by clicking on the dropdown arrow; or delete a category by clicking on the corresponding "x" button, circled on screenshot; or create a brand new one by clicking on "Add new category" at the bottom. Click OK to accept!
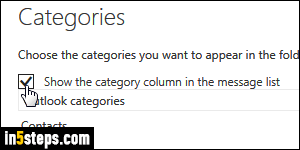
For more advanced settings, click on the gear icon (top right corner) and choose Options. On the next screen, select Categories under Layout. Outlook Mail's default categories are at the top, and your personal (color) categories at the bottom. For each one, you can control if they'll show up in the folder pane on the left, and/or as a quick filter: check the checkboxes as appropriate.
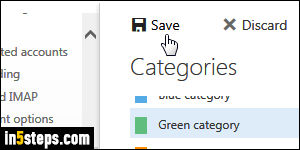
You can't delete a built-in Outlook Category; to delete one of your personal categories, which may be needed since Outlook Mail doesn't currently let you rename them, click on it once to select it, and click on the trash can icon above the listing. (Note: messages marked with that category will NOT be deleted.) Once done, click on the Save button at the top. Click on the left arrow near the top left corner (on the left of the word Options) to go back to your inbox.

