

The Opera web browser for desktop operating systems (Windows, Mac OS X, Linux, etc.) draws web pages using their "CSS" style sheet information. When that data is missing or incomplete, it uses a default font family and text size to render the page. But you can customize all that. (Older versions of Opera even allowed you to override websites' styling information: this is no longer the case, but these options will probably find their way in the Vivaldi web browser.)
In 5 steps
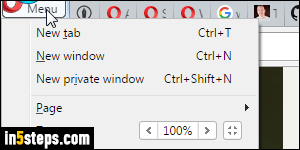
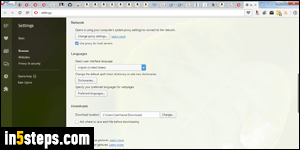
Click on the Opera button (top left corner) and choose Settings in the menu.
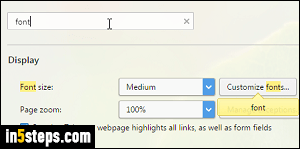
In the search box at the top, type "font" to quickly show only the relevant options. Notice that all matching settings are highlighted in yellow.
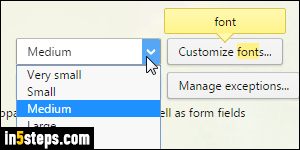
The default text size is "Medium": click on the Font size dropdown to pick a larger -or smaller- default size. Clicking on the Customize fonts button on the right gives you even more granular control, by letting you pick different settings for different types of fonts (serif, sans-serif, fixed-width). That popup even lets you tell Opera to enforce a minimum text size for all web pages!
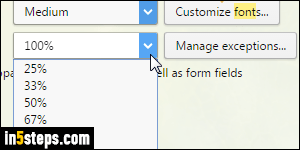
Although it's separate from font settings, the Page zoom dropdown controls default zooming: unlike font settings, the zoom option is applied to the entire page. In other words, instead of just making the text larger or smaller, Opera can make the whole page, including images and videos, larger or smaller. You can even set exceptions for website you want to exclude from that rule!