

The default margins were changed after Word 2003. Microsoft's new default template now automatically applies margins of 1 inch on both the vertical and horizontal margins. But this can be customized for each file, as needed. Note: I took the screenshots for this tutorial in Word 2016, but the steps are exactly the same in Word 2013, Word 2010, and even as far back as Word 2007!
In 5 steps
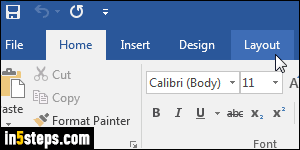
First, click on the ribbon's Layout tab (or hit the Alt+P keyboard shortcut).
Tip: don't mess with the indent sliders in the ruler unless you know what you are doing. It's the easiest way to unintentionally destroy your formatting!
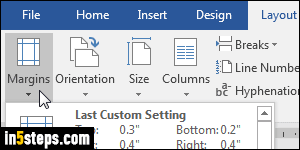
Now click on the Margins dropdown button: unless you modified your Normal template, the default margins will be one inch all around. You can click on any margin preset shown in that menu. My personal favorite is the "Narrow" margins of half-an-inch all around, which shows quite a bit more text periodically page. Choosing a preset also avoids issues with printers (pages' overflow text not fully printing on the edges, images cropped, etc.)
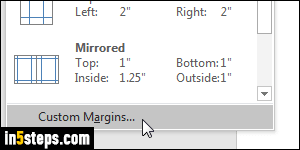
But Word of course lets you create custom margins for your documents. At the very bottom of the Margins dropdown, click on the Custom Margins button.
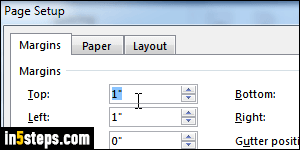
In the Page Setup dialog, you can specify each margin individually (top, bottom, left, and right), and they don't even need to be symmetrical. Notice that you can also change the page's orientation from this tab. The Paper tab lets you customize page size (letter, legal, etc.) Click OK to apply your new margins.
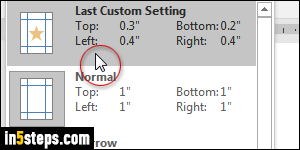
Tip: see top screenshot. Word keeps your last custom margins a click away!

Bonus Tips - visually show the margins on screen!
To get rid of the extra white space on the page, you can edit your Word documents in "Draft View". Click on the View tab and select "Draft" (and click "Print Layout" to return to the default view). To show the all available space between margins, check the Gridlines checkbox, also under the View tab.