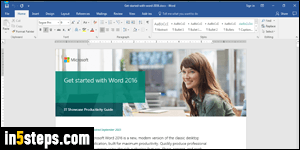
For ages, Microsoft Word has offered "views", which are ways of looking at, and interacting with, the content of your document, but without changing its content. This tutorial shows Word 2016, but the steps are the same in Word 2013 and Word 2010. By default, you have the Print Layout View, which mimics your document being printed, with space between each virtual "page".
In 5 steps
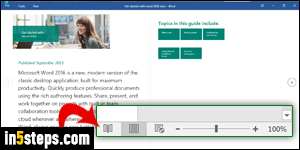
When someone sends you a Word document, it's sometimes nicer to read it as if it were a brochure, and without all editing commands in the ribbon taking so much screen real estate. For this, there's the Full Screen Reading View, or Read Mode. In the status bar (strip on the bottom edge of the Word window) click on the tiny button that looks like an open book (see screenshot).
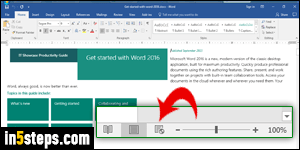
If you ever create a web page using Word, you'll be able to preview how it would look in a web browser directly from Word, using the Web Layout View. Like the reading view, the web view gets its own preview button in the status bar, only a click away at all times (see screenshot). Note that the web layout view is an approximation - always test the final document in a browser!
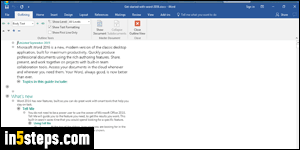
The last two views are accessible from the View tab in the ribbon (at the top of the Microsoft Word window). If you use Word to create a to-do list or other type of nested lists, Outline View lets you expand and collapse headers and sub-headings hierarchically, and show / hide their content. It's a great way to organize a project involving lots of steps or people! (There are even dedicated programs for project managers called single-pane/dual-pane outliners.)
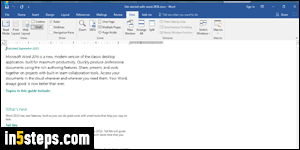
Finally, Draft View is also accessible from the ribbon's View tab. Perhaps the least useful view, it lets you preview your document as a long, uninterrupted "sheet" of paper - unlike the print view (first screenshot), which separates content like it would when the document's printed. When a view changes the Word window, look for a close button to return to the normal view.

