

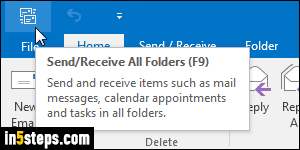
Since Outlook 2007, Microsoft's email program features a "quick access toolbar" in the title bar. It includes common commands, like sending and receiving emails or undoing the last action. This means that you can see these icons and access these commands even when the ribbon is hidden. (And it now is, by default: but you can pin it to always display it!) Better yet, each of these commands gets its own, dedicated and easy-to-remember keyboard shortcut.
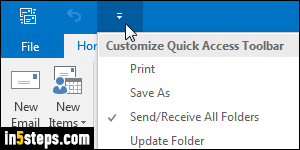
This tutorial shows screenshots of Outlook 2016, but all steps are exactly the same in Outlook 2010 and Outlook 2013 - they just look different! First, click on the dropdown arrow on the right of the toolbar, as shown on the screenshot.
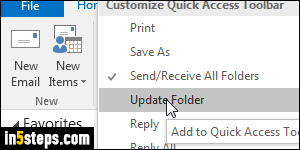
This will show a dropdown menu that contains popular commands like printing, saving, replying / forwarding, etc. Notice that each command currently displayed in the quick access toolbar shows a checkmark next to its name. To hide a command, uncheck it; to add another, click on it once to check it!
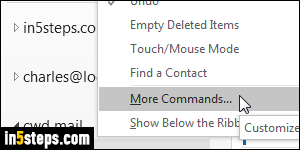
Just because a command isn't on that list doesn't mean that you can't add it; in fact, Outlook lets you add any command to that toolbar. To add an action not currently listed, select "More Commands" at the bottom of the menu. When the Outlook Options dialog opens, select All Commands from the top dropdown.
Note: "Show below the ribbon" will move down the quick access toolbar.
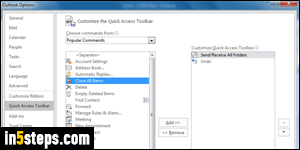
All you need to do is find the command you want, and click on it to select it. Then, click on the Add button to add it to the list of available commands in the quick access toolbar. Conversely, select a command on the right and click "Remove" to hide it from that list! Notice that once a command is selected on the right, you can move it up to show it further to the left in the toolbar (or move it down, to make it appear further the right). Once done, click OK to save.
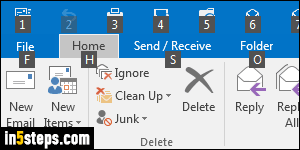
Bonus Tip - quickly accessing the quick access toolbar's commands:
Remember the keyboard shortcuts I mentioned? Hit the Alt key on your keyboard: as soon as you do, Outlook shows all the letters or numbers you can hit to trigger the corresponding command. And the quick access toolbar only uses numbers. So, press Alt+1 to activate the first command, Alt+2 to activate the second, and so on. It behaves just as if you had clicked on the button!