

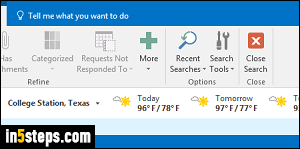
Ever since Outlook 2013 (I'm using Outlook 2016 in this tutorial), the calendar nicely tells you about the weather in your area: but you can add many more locations! I'll show you how to turn off weather information in the calendar, add a new location, and change degrees between Fahrenheit and Celsius.
In 5 steps
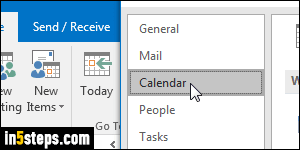
Once in Outlook, click on the File button (top left corner) and choose Options. When the Options dialog opens, select the Calendar settings on the left.
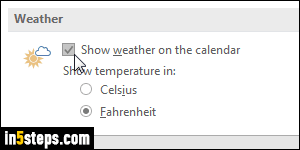
Scroll to the bottom: to hide the weather updates, uncheck the "Show weather on the calendar" checkbox. Outlook shows that info in an otherwise empty area of the calendar, so you won't regain any screen real estate by turning off that feature. Cleverly, Outlook will show more than one day forecast, based on the width available with your screen resolution, the side panels you have visible or collapsed, and whether the Outlook window is maximized or not.
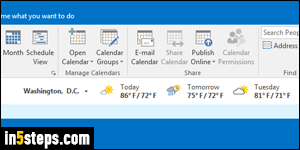
In the screenshot, you can tell that I get three days weather forecast (not sure why Outlook shows Washington DC by default, since I'm in Texas!) To show Celsius degrees instead of Fahrenheit, just change that selection in the Options dialog - see previous screenshot. Click OK to save your new settings.
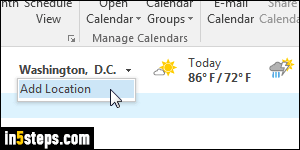
To add a new city to your weather, click on the current city name and choose "Add Location". Type the name of the city and state / region, then hit Enter. Outlook 2016 will poll Microsoft's servers, and return a list of potential matches. Click on the one you want, and you're done. From now on, you can just click on the city to switch to another, and add as many locations as you want!