

By default, Outlook includes six default categories, generically named after their color. If categories disappeared or are disabled (grayed out), you're probably using an IMAP email account. Outlook can only apply categories to local messages: either downloaded as POP3, or moved to a local folder, whose content is saved to a PST file. That's because IMAP doesn't support categories or flags beyond the default one, so categories can't be applied or synced!
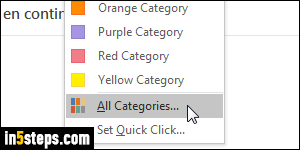
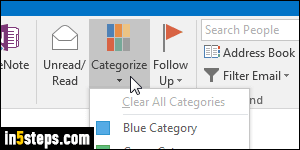
To customize your categories, select the Home tab in the ribbon and click on the Categorize dropdown. (You can make Outlook's ribbon always visible.) Select "All Categories" at the bottom: a dialog opens, listing all existing categories. Note: all screenshots in this tutorial we taken with Outlook 2016, but the steps are exactly the same in Outlook 2013 and Outlook 2010!
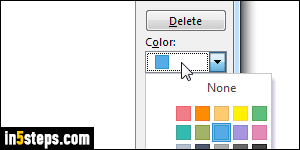
Click on a category to select it: you can click Delete to remove it, but here's how you change its name or color. Click Rename, type a new category name, and hit Enter. To change its color, just make sure that the correct category is selected, click on the Color dropdown, and pick a different color swatch.
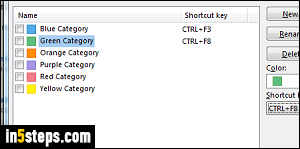
The Ctrl+F1 keyboard shortcut is reserved to showing or hiding the ribbon in all Office applications since Office 2007. All other such combinations can be assigned to Outlook categories, from Ctrl+F2 to Ctrl+F12. To set a keyboard shortcut for the selected category, click Shortcut key and select a combination: Outlook will tell you if it has already been assigned to a category. The category listing is updated to show the keyboard shortcuts as you assign them.
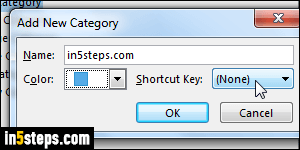
Click New to add a custom category: enter a name and optionally assign a color (without colors, some Outlook views may not show that a message was categorized!) Optionally assign a shortcut, and click OK. Click OK again to save. To change the default category when you click on a message, click on the Categorize dropdown, choose "Set Quick Click", and pick a category.