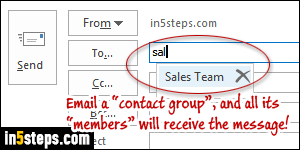
If you regularly email a group of people (your team, your clients, etc.), you don't need to manually add each person's email address whenever you email these people. Microsoft Outlook supports contact groups (distribution lists). Once you created a group and added "members" to it, sending a message to that group automatically emails all its members - huge time-saver! Note: I'm using Outlook 2016, but the steps are the same in Outlook 2013 / Outlook 2010.
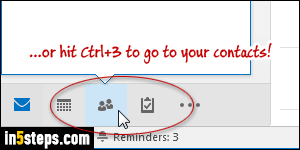
Once in Outlook, click on the People icon at the bottom of the folder pane to load your Contacts (hitting the Ctrl+3 keyboard shortcut goes there too!)
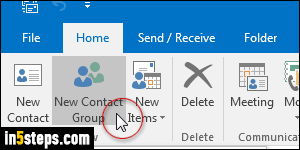
Click on New Contact Group at the top. Tip: from anywhere in Outlook, you can create a group with the Ctrl+Shift+L keyboard shortcut (L as in List!)
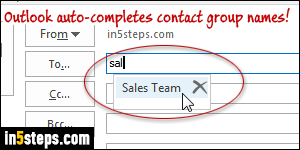
Start by giving a meaningful name to your list, to remember what people are in that group: Outlook will auto-complete this name suggestion in the To / Cc / Bcc fields, just like it does with your contacts' names and email addresses!
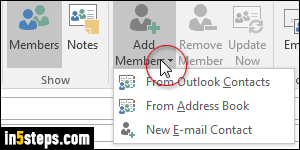
Now click on the Add Member button: choose From Outlook Contacts or From Address Book to add people you've already saved. (Double-click on each person's name, and click OK once done.) Click New E-mail Contact to create a brand new contact and add it as a member of that group. Click Save & Close to create the contact group - you can now start emailing this list!
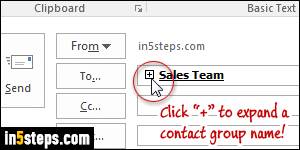
Bonus Tip: once a contact group is in a recipient field, you can click on the plus sign to expand that group into individual email addresses. This allows you to selectively remove some contacts from that particular message, without deleting these members from that distribution list. To keep recipients hidden, use the Bcc (blind carbon copy) field to type email addresses and groups!

