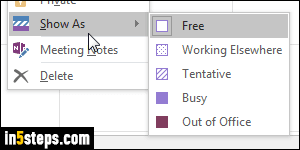
Microsoft Outlook 2016 / 2013 shows your default calendar in light blue. Any new calendar you create locally, or subscribe to, will use another color. I'll show you how to change that arbitrarily assigned default color. Note: this "default" color is for the calendar itself. If you created color categories, and assign one to a particular appointment, that event will show a left border of a different color, but the background itself will keep using your calendar's base color.
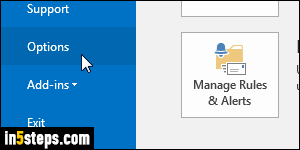
Once in Outlook, click on the File button (top left corner), and select Options.
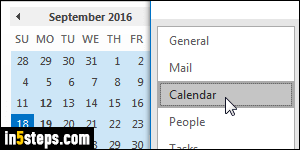
In Outlook Options, select the "Calendar" settings on the left.
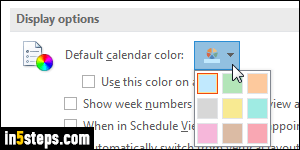
Under Display Options (near the bottom) you can click on the Default calendar color dropdown button, as shown on the screenshot. Outlook offers 9 different colors. Notice that the light blue -the default- is currently selected. For the purposes of this tutorial, I picked green: notice in the next screenshot that the entire calendar's base color is now green, including week day headers.
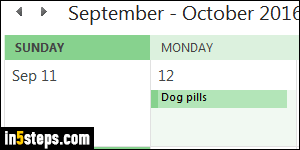
Before clicking OK to save your options, here's another setting: if you check the "Use this color on all calendars" checkbox, you'll get a single color for all calendars (and no longer be able to tell to which calendar an event belongs.) Once you have multiple calendars, you can click on one of them and go to the View tab in the ribbon: click Color, and pick another color directly!
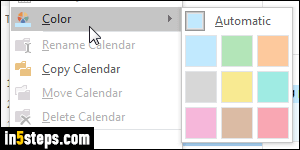
Bonus Tip - changing calendar color from the folder pane:
You can show or hide Outlook's folder pane under the ribbon's View tab: once that pane is visible, you'll see all your calendars as a list. Right-click on a calendar name, and click on the Color submenu to pick a new color!

