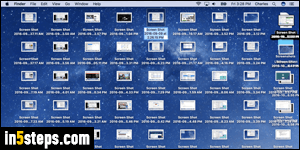
Writing tech tutorials, I take screenshots all the time. While it's easier on Windows (just hit the Print Screen key), it's much more flexible on Mac OS X: not only are screenshots automatically saved to a file (by default), but you also have multiple keyboard shortcuts to capture different parts of the screen, even isolated menus! And yes: you can also copy screenshots to your clipboard.
In 5 steps
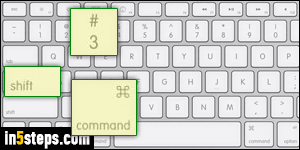
To take a screenshot of the entire screen, just hit Command+Shift+3: all three keyboard keys at the same time. You'll know that it worked, because your Mac will play the sound of an old-fashion camera when the screenshot is saved!
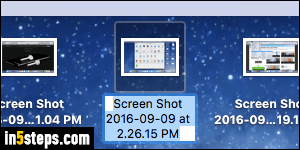
Mac OS X automatically saves the screenshot as a web-friendly PNG file on your desktop, called "Screen Shot [date] at [time]". (The exact format of the date and time depends on your region!) You can rename it anything you like.
Hit Command+Shift+4 to take a screenshot of part of your screen: position your crosshair pointer, and drag the area you want to capture. Hitting the space bar and clicking on a window takes a screenshot of that clicked window! If a menu is visible when you hit that keyboard shortcut, click on the menu with the camera cursor to take a screenshot of that menu, with shadows! (That same technique works if you click to capture the menu headers themselves.)
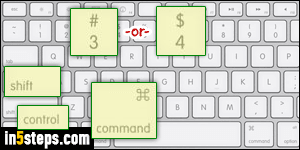
Let's put it all together: remember how each screenshot you took was auto-saved to a PNG file? If you only want to copy that screenshot to the clipboard, from where you can paste it in an email or document, just hold down the Control key on top of the others keys. Everything else is the same: this trick works for Command+Shift+3 (full screen) and for Command-Shift+4!

Bonus Tip - Taking screenshots doesn't work! To get the iTunes Store off the ground in the early 2000s, Steve Jobs (Apple's co-founder and then-CEO) had to make concessions to movie studios and content producers. One of them was to avoid piracy using means like copy-protection and "DRM". As a result, some movies may prevent you from taking screenshots on Mac OS X!

