

I've already recommended to disable the Flash plugin in Google Chrome (aka Shockwave / PepperFlash), and to uninstall Java from Windows, as a security measure. Many malware and virus attacks come from these two plugins, which are on the way out anyway. But there may be cases where you trust the site and absolutely need to play a Flash video, or enable some other plugin. Chrome conveniently shows you when a site wants to use blocked plugin.
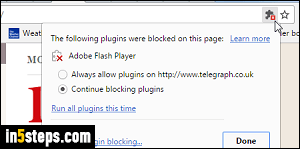
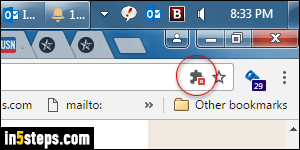
When you see that notification icon in the address bar (what Chrome calls the "omnibox"), you can enable that plugin in a few clicks. First, click on the plugin icon, as shown on the screenshot: Chrome will tell you which plugin is needed. If you select the "Always allow plugins on [website address]" option and click Done, Chrome will no longer block the blocked ones on that website.
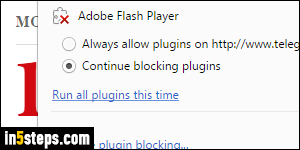
A better option is to instead click on the Run all plugins this time link in that popup. Unfortunately, you can't pick and choose which plugins to allow or block, but at least it is limited to a one-time exception. Whether you allow them once, or always for a particular URL, only do so for well established sites!
The only reason you'd click on the Manage plugin blocking link is to unblock one or more of them (they're blocked, otherwise you wouldn't be seeing that popup!) I don't recommend you do, but at least Chrome gives you the option.
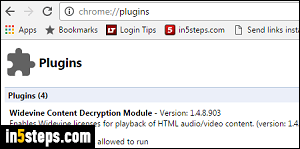
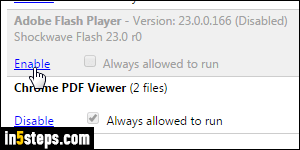
You don't need to see that notice in the omnibox to manage blocked and allowed plugins, though. You can type the special "chrome://plugins" URL in the address bar, as shown on the screenshot. Otherwise, you can click on the menu button (top right corner), and select Settings. From that Settings page, type "plugin" in the search box, and click on the Content settings button!