

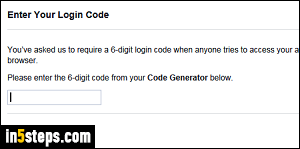
If Facebook "Login Approvals" are enabled for your account, just knowing your username and password won't be enough to sign in. In that case, if an unauthorized device or unrecognized web browser is used, an extra code will be required. Without providing that code, the person won't be able to go any further. I strongly recommend that you turn on that feature!
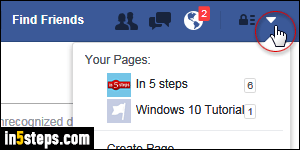
To setup login approvals, you'll first need to add a cell phone to your account. Assuming that this is done, log into Facebook. Now click on the dropdown arrow in the top right corner of any page, and choose "Settings".
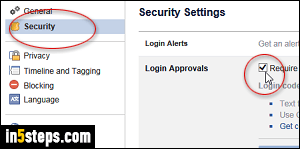
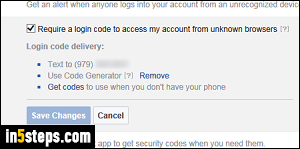
On the next screen, select "Security" on the left. Now click on Login Approvals on the right, check the "Require a login code to access my account from unknown browsers" checkbox, and click on the Get Started button.
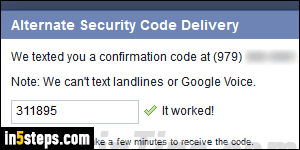
Go through the verification steps, and provide the confirmation code, either using the mobile Facebook app's Code Generator, or by having it sent as SMS text message to your cell phone. On the last step, you can choose to activate Login Approvals right away, or wait a week - start using them immediately.
That's all! Facebook may ask you to re-login from some devices or browsers, but don't worry: once you supplied the code, you won't be asked for it again (at least not for a long time!) To see how logging in works after you've enabled this feature, check out the "Enter your login code on Facebook" tutorial.