

An earlier tutorial explained how to hide WordPress posts: this tutorial is related, in that adding password protection to a post is also handled through its "visibility" settings (which makes sense). When a post is password-protected, links to it are still visible anywhere on your website or blog, but its content will be hidden until the visitor enters the correct password. Keep in mind that the password will be the same for everyone, which sort of limits its usefulness!

Once you've logged into your WordPress dashboard, click on the Posts link on the left (which is just a pin icon, if the sidebar is collapsed). Note that clicking on Posts goes to the exact same page as going to Posts > All Posts.
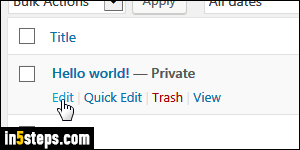
Find the article you want to protect, and click on its title (or on the Edit link that appears when you move your mouse over that post's box). The "Private" word that appears on the right is because I hid that post in an earlier tutorial.
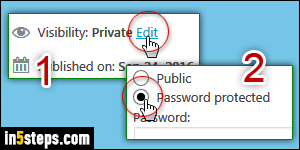
Now click on the Visibility's Edit link in the box on the right. When the visibility settings appear, select the Password Protected option. Then, type the password you want: know that it will type in readable text (in case you are in public right now!) Click OK to accept the change, and then click Publish.
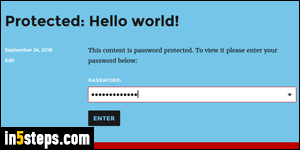
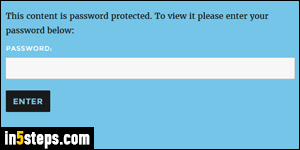
Here's how WordPress displays a password-protected post: your readers need to enter the correct password, and click Enter to view it. They'll keep seeing that password prompt until they enter the correct one. Closing words: a downside to password-protecting a post is search engine friendliness. Unless search engines can "crawl" your page's content, they won't be able to properly index it. If online visibility is a concern, leave your posts unprotected!