

A shortcut is a special type of file, who uses .lnk as file extension. Behind-the-scenes, it's actually a plain text file that contains information about shortcut name, "target file", etc. This target can be anything you want: a web page, a program on your PC, any type of document, like remote files hosted on the local network or accessible through FTP! People don't take advantage of shortcuts because they don't realize how easy they are to create! That ends now :)
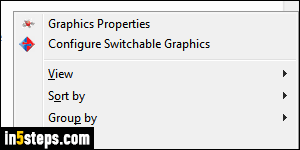
There are several ways of creating a shortcut: the easiest is to right-click on an empty area of your desktop, or an empty area of a folder you have opened in Windows Explorer ("File Explorer", as it's called in Windows 10). By empty area, I mean: don't right-click on a file, otherwise you'll get the context menu for that file, not the standard Explorer context menu, pictured in the screenshot.
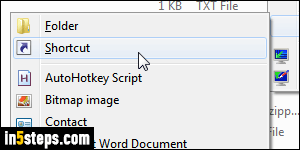
When that menu is showing, choose New, and select "Shortcut". This will open the operating system's "Create Shortcut" popup, which guides you through the process. In the first screen, either type a URL (web address, if you want a web page shortcut), paste a file path, or click on the Browse button to pick a program or file. Depending on your version of Windows, there will be two "Program Files" folders on your PC: your apps can stored be in either one.
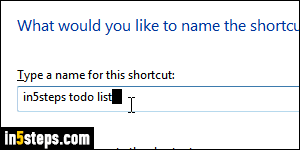
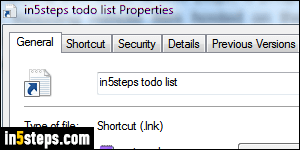
Click on the Next button: you now get to pick a name for your shortcut. Windows auto-populates the target file name for you, but any valid file name will do (you'll be told if you use a character that isn't valid). Click Finish to create the shortcut. Now right-click on that shortcut and choose "Properties": under the Run dropdown, you can make that shortcut automatically open in a maximized or minimized window. And you can assign it a keyboard shortcut.
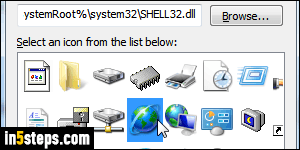
To make your shortcut stand out, click on the Change icon button: depending on the type of the target file, you may not see many icons. Just erase the value in the text field and hit Enter. Windows now shows you all its standard icons, and you can pick any of them. Double-click on the one you like and click OK to save. Click OK once more to close the Properties dialog. You can now drag your shortcut to the start menu, to the taskbar, or copy it to another folder!
Bonus Tip: create shortcuts by dragging with your mouse!
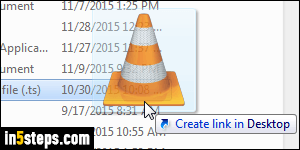
If you drag-and-drop a file while holding the control key (Ctrl), it creates a copy of the file once you release the mouse button. There's a similar trick for shortcuts: drag-and-drop a file, and hold down the Alt key on your keyboard. As soon as you let go of the mouse, Windows will create a shortcut to the file you started dragging. As confirmation, a tooltip reads "Create link in..."