

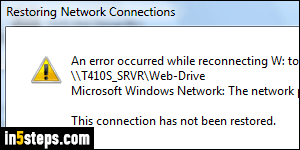
Especially on a server, automatically reconnecting to a shared / network drive when Windows starts can be crucial. On a regular PC (client computer on the local network), just clicking on the drive will reconnect it within seconds, but not automatically - and not always. That's why you get error messages like "An error occurred while reconnecting to ... The network path was not found ... This connection has not been restored" when you try to access a mapped drive.
If you haven't mapped the drive from a shared/network folder already, start by doing that to establish the initial connection: map a drive in Windows 7/8/10.
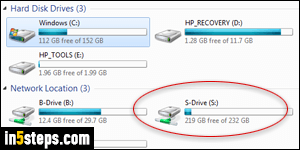
In this tutorial, I'll want to automatically restore the connection to a folder on \\Remote-PC-Name\Folder-1\Folder-2 (a shared folder on my local area network - LAN), which I already mapped to the letter "S:\" (as in Shared drive).
We're going to tackle this issue by creating a batch file: a ".bat" file contains saved command line instructions that you normally would enter in a DOS window (command prompt). It sounds complicated, but it's not. If you've ever saved a text file in Notepad, half the work is already mastered, so no worries :)
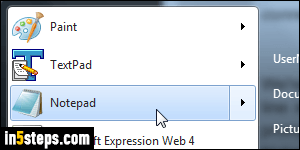
Start by opening Notepad, or a plain-text / programming editor of your choice.
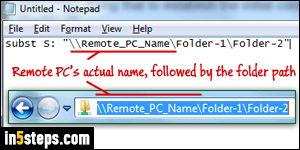
Once in Notepad, type the following, all on a single line:
subst S: "\\Remote-PC-Name\Folder-1\Folder-2"
Replace "S:" with the drive letter you want to use, and everything that comes after it by the actual network path of the shared folder. Use "double quotes" around the path if it contains any spaces. Otherwise, the quotes are optional.
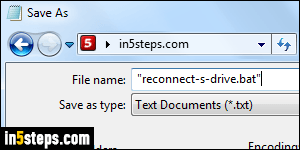
Now save the text file under the name you want. To be on the safe side (I don't know if you have Windows set to show file extensions or not), start with double-quotes, type a file name, a period, and bat at the end (the file extension for batch files). Close with another double-quote, as shown on the screenshot. That ensures that the file will be saved as a batch file (*.bat), and not a plain text file (*.txt). Move the file to the target PC's startup folder (next step).
Bonus Tip: placing shortcuts in the startup folder.
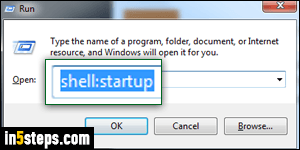
On the target PC, hold down the WinKey (key that shows a Windows logo) and hit the letter "R". That will open the Run dialog. Type shell:startup and hit Enter to open the current user's startup folder in Windows Explorer. Any file or shortcut in that folder will automatically be launched when that user logs on.