

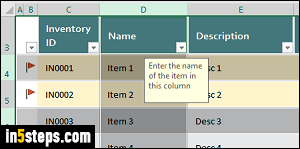
This tutorial explains how to delete rows or columns; a previous one explained how to insert them. Excel is designed to handle these common operations flawlessly, behind the scenes: if a formula depends on a cell reference, that's automatically updated once you delete an affected row or column. If Excel detects an issue, it may warn you before deleting anything. (Note: this tutorial assumes that you're already familiar with selecting rows and columns.)
Deleting a column:
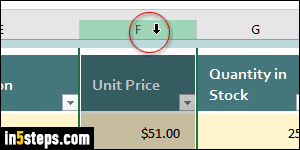
Click on a column header to select all the cells it contains: notice how your cursor becomes a down arrow. Tip: hitting the delete key (Del) on your keyboard will clear the cell values, but this won't remove the column! To do so, right-click on the column header and pick Delete from the context menu.
Delete a column with a keyboard shortcut!
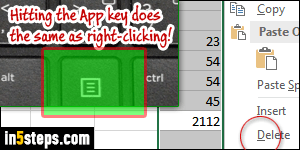
With the active cell being in the column you want, hit Esc to exit editing mode (typing inside the cell). Then, hold down the Ctrl key and hit the space bar to select that column. Finally, hit the App key (screenshot), and type a "D". (My "D" is underlined because I configured Windows to underline access keys!)
Deleting a row:
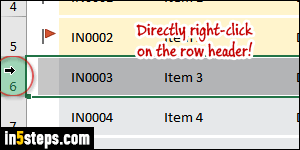
Using the mouse, you can delete a row just like you deleted a column. Right-click on the row header (screenshot), and select "Delete" in the menu.

Delete a row using your keyboard only!
Once the active cell is in the row you want to delete, hit Esc. Then, hold down the Shift key and press the space bar to select that row. Hit the App key and hit the letter "D". Note: you can always hit the Undo button or hit Ctrl+Z (Windows) Command+Z (Mac OS X) to restore a deleted row or column!