


If you use Apple Music, your iTunes Library becomes a bit less important, since iCloud will sync your liked music or songs, albums you added to "My Music", etc. But your iTunes Library still contains all customizations you've made on your PC or Mac. Since iTunes lets you export that library to a file, you can back it up onto external drive, import it (after conversion) to Excel, etc. (Tip: here's how you change your iTunes Library location on Windows.)
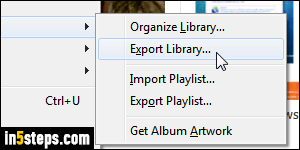
Once in iTunes (whether using Windows or Mac OS X), click on the File menu, select Library, and click "Export Library". Windows Tip: if you don't see iTunes' classic menus, hit the Alt key to display the menu headers.
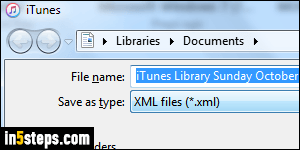
iTunes calls the export "Library.xml". Optionally type a different file name, for example one that includes the current date or time stamp (for future reference). Make sure that the correct folder is selected, and click Save to export.
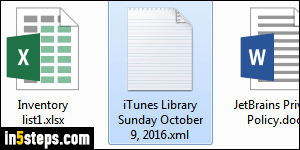
If you meant to back up your library, just copy or move that file to a USB or external drive of your choice. Because the format is the same on Mac and PC, you can export and import your iTunes Library to and from each platform!
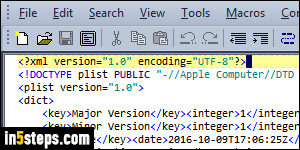
Bonus Tip - The iTunes Library file format: The file extension XML is also a universal text file format, which stands for "eXtensible Markup Language". With this output format, Apple ensures that you can open and use that library file on any platform. If you open the exported file in a text editor, you'll immediately be able to make sense of the keys and values yourself. Any third-party app or developer can convert that file and export it to any other format you need!