

As long as Bitdefender is running in the background, it should automatically intercept any new files that are infected before any damage is done - be it files downloaded while you surf the web, emails you receive and file attachments, or files you copy from a USB flash drive or the local network. But you can always manually check a file or folder by running what's called an "on demand scan" just on this file or collection of files - just to be on the safe side!
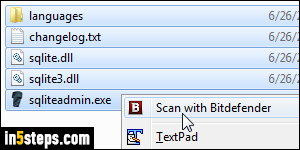
Locate the folder you want to scan for viruses, or select the files. Tip: clicking on one file and clicking on another while holding down the Shift key will select those two files, plus all the ones in between! (Click on files while holding down the Ctrl key to add them or remove them from the selection. Right-click on any of the selected files (or the folder), and choose "Scan with Bitdefender".
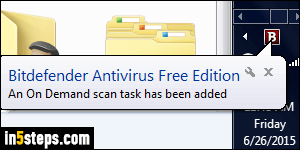
You'll get the "An on demand scan task has been added" confirmation message as a bubble from the notification area of the taskbar (system tray). Depending on how busy Bitdefender Free is, and on the number and size of the files you are scanning, the process can take anywhere from a few seconds to a few minutes. Just hold on tight and wait for the result before opening any of those files. (It won't affect Bitdefender, but if one of them is infected...)
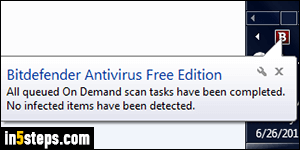
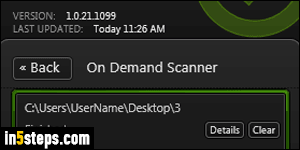
Once the scan has completed, you should get the "All queued on demand scan tasks have been completed. No infected items have been detected" confirmation message. Sometimes, that notice doesn't appear: in that case, click on the Bitdefender icon in the taskbar, and click on the "On demand scanner" button in the popup. The next screen gives you the results, and clicking on the "Details" button gives you a complete breakdown.
If the file you were scanning was infected, you would receive the following message: "x items were infected and cleaned up" (or something similar). Viruses and infected files will automatically either be cleaned or quarantined (removed from the folder), so you don't have to worry about the files left!