


When you are in Details or Small Icons view, Windows Explorer (or "File Explorer", as it's called in Windows 10), will show the default folder icons, unless you assigned a custom icon to a folder. In Large Icons and larger views, Windows instead tries to show the folder's content. And you can pick which image should be shown as preview picture for that folder. Unfortunately, you can't have a custom icon and a preview file - if set, the icon is always used.
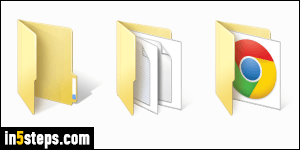
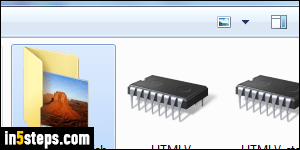
By default, the files you see as preview are really not helpful in guessing or remembering the content of a particular folder. Look at the screenshot: in one case, no preview file is shown at all, even though that folder contains many files. In the second, source code files are shown, which means that none of their content is visible in the preview. On the right, an image is used as preview, but it is not at all helpful, because it doesn't reflect the folder's "topic".
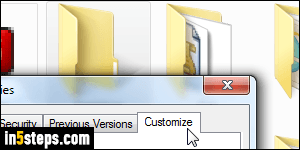
So let's override Windows and manually choose the file we want to be used as preview image in Windows Explorer and other file dialogs (file pickers, open/save dialog, etc.) Right-click on a folder, and select "Properties": when the dialog opens, click on the "Customize" tab on the right.
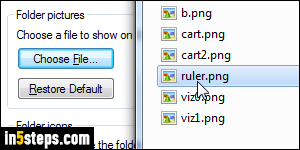
Under "Folder pictures", click on the "Choose File" button. Windows will let you use nearly any image format you can think of: JPG/JPEG/JPE, GIF, PNG, TIF/TIFF, BMP, ICO, WMF, DIB, JFIF, FPX, or MIX files. But don't worry: the filter in the file picker will only show files that can be used as preview.
Click Apply to preview the result: pick another picture, or click OK if you're happy with the result. Remember that folders' preview pictures are only visible in large icons view (or bigger icons). They'll look like any other folder in small icons view / anything smaller. To remove the preview image, follow the same steps, but this time click on "Restore Default" under the Customize tab.