

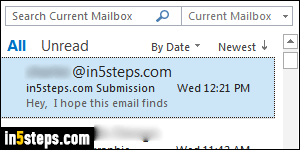
I don't receive many emails sent to the account tied to the in5steps.com contact form. So, instead of checking that email account daily, I've set up that Rackspace-hosted email account to automatically forward its emails to my main email account. And it only takes a few clicks to set up in Rackspace Mail!
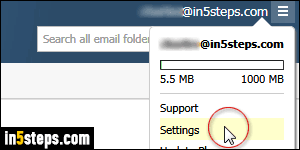
Once logged into your Rackspace email account, click on the hamburger menu button in the top right corner of the page, and select Settings.
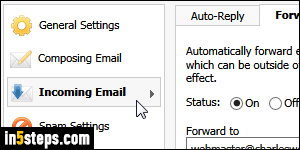
In the options dialog that opened, click "Incoming Email" on the left and select the Forwarding tab at the top. To enable automatic mail forwarding, click on the On radio button, as shown on the screenshot. By default, any message forwarded will be deleted from the original account. I recommend that you check the "Save a copy of forwarded email" checkbox, just in case!
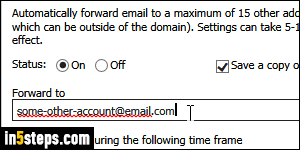
Carefully type the forward-to email address. Any valid email address will work, it doesn't need to be another Rackspace account. Rackspace also includes an awesome feature: the ability to forward messages only during a specific date range and certain times of the day - for example, when you're out on vacation! To use that option, check the "Enable only during the following time frame" checkbox and enter a start-date and time, and an end-date and time.

Review your settings one last time, and click on Save to apply them. From now on, all emails you receive will be forwarded to the account you specified, until you turn off forwarding (by selecting the "Off" radio button this time!)