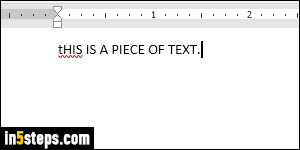
If you accidentally leave Caps Lock while typing in MS Word, it will generally detect it, turn it off, and convert your text to normal case. If it doesn't, don't erase all that text! Word comes with a built-in command to change the case of selected text: to uppercase, to lowercase, to inverted casing (where uppercase becomes lowercase, and vice versa), or to a hybrid of "title case", where all words are automatically capitalized - even the ones that shouldn't be!
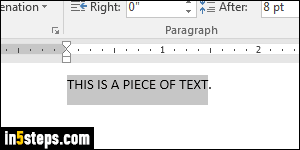
The fastest way to change casing is to select your text and hit the Shift+F3 keyboard shortcut. Unlike most commands, that single keystroke converts the case of your selected text in cycle: between upper-, lower-, and title-case, in that order. No need to learn a different shortcut for each different casing!
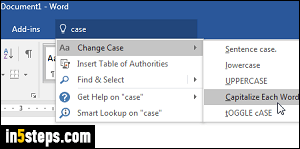
If you forget, or don't like keyboard shortcuts, you can just type the word "case" in the newly introduced "Tell me what you want to do" text box, visible in the screenshot. Notice that after I type "case", the first result is a Change Case submenu that includes "Sentence case" (only first letter capitalized), lowercase, uppercase, and "Toggle Case" (invert each letter's casing).
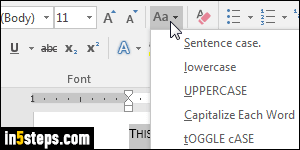
The Home tab of the ribbon also includes a "Change Case" dropdown button, shown in the screenshot. It includes the same options as the submenu shown as top result in the previous step. Talk about having options!
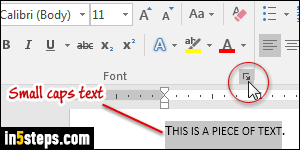
Tip: Microsoft Word also supports "Small Caps", a hybrid variant of text that shows all letters in uppercase, except that the capitalized ones are displayed in a larger font size (see screenshot). To convert text to small caps, click on the mini arrow button (highlighted on screenshot), check the Small Caps checkbox, and click OK. You can quickly launch the Font dialog by hitting Ctrl+D.

